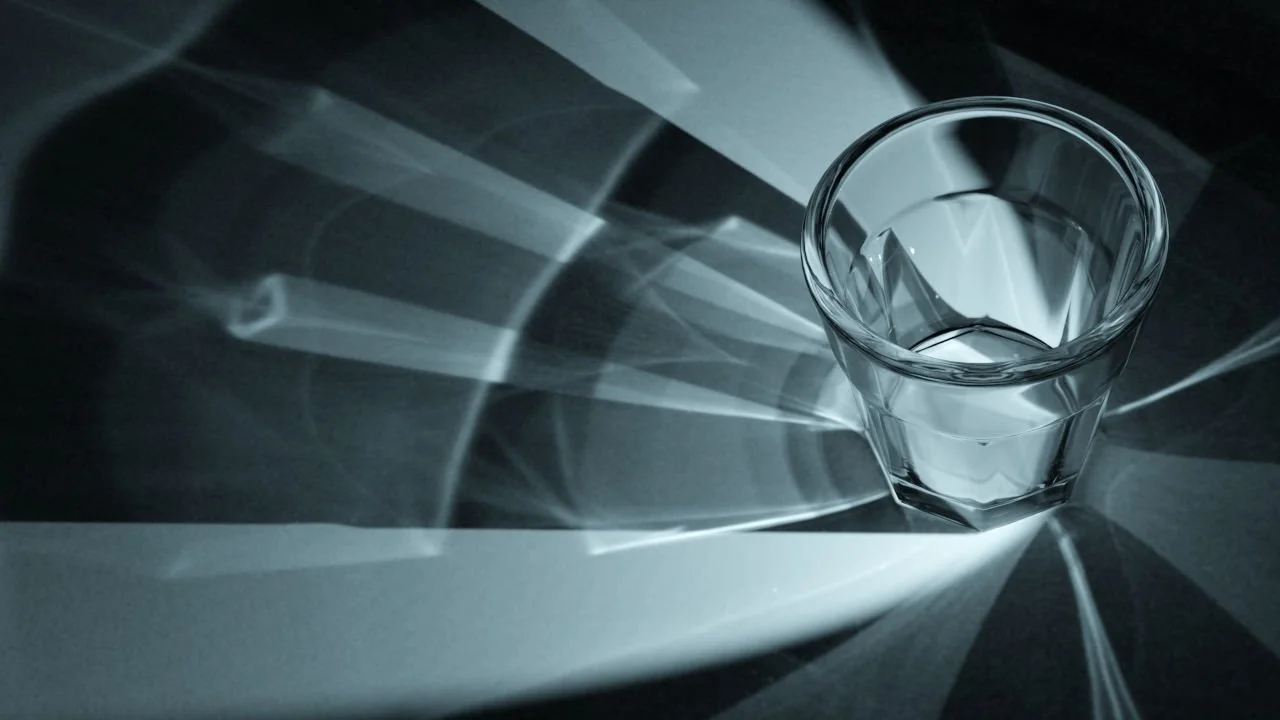
Project 2
Blog 07 2/15/2024
Redshift Caustics
I was having trouble at first getting caustics to work on my model so I opened up a new maya file and began testing on a simpler scene before I messed anything up.
It resulted in a lot of testing and note taking which resulted into a guide I thought I should flesh out for classmates.
REDSHIFT CAUSTICS SIMPLE HOW TO
1. RENDER VIEW: bucket render [enable] (the 9 squares button)
2. GROUND: attrib. editor (A.E.) > shape > Redshift > visibility > Global Illu. > Receives Caustic Photons [enable]
3. OBJShape: A.E. > ... > Casts Caustic Photons [enable]
FOR JAGGED OBJs: A.E. > ... > Tessellation [enable] (smooths sharp edges which makes them better for caustics)
4. RSLIGHTLIGHTSHAPE(s): A.E. > Caustics > Caustic Photons [enable]
Intensity: [1] (Brightens Caustics)
Photons: [10,000,000, two extra 0's from default] (the amount of photons casted from caustic objects in contact with the light)
5. RENDER SETTINGS > Redshift > advanced > caustics > blur radius (cleans up stray caustic photons to avoid noise)[ recommended: 0.001, experiment around 0.01 - 0]
notes:
black base colors tend to absorb the caustics and white shows them more.
decrease reflection in the material to show off the caustic more in the beauty pass.
enable caustics and causticsRaw AOVs to single them out for comping. I do not know the difference but causticsRaw tends to be brighter than caustics. Do not quote me but my assumption is this layer is using the RAW colorspace for compositing
blur radius seems to decreases intensity work with the lightshape caustic intensity to achieve a good result but avoid blowing them out too far for comping.
Don’t enable caustics for more lights than necessary to avoid noise and render time IE: lightdomes.
In LightShape > contribution you can decrease diffuse and reflection to 0 to only see the caustic.
Just like in Arnold, in OBJShape: A.E > Redshift > visibility > general you can disable primary visibility in Primary Ray visible to achieve a render without the object for better caustic AOVs.
For those new to redshift, It does render to ACES by default. C
Blog 06 2/13/2024
Research and testing for better caustics and caustic calculations
Majority of class was spent on how to mimic caustics and although they were okay and I could use normals and curvature to manipulate them in better ways it wasn’t what I wanted mostly because the caustics stayed inside the shadow.
In order for a caustic to look convincing, it not only has to amplify the light it refracts in certain concave points of the geometry, but also refract outside of the shadow.
I came across a render engine called Appleseed. It looked extremely promising but its support for blender ended in 2019 and being such a small program, I wasn’t confident I could find the resources to learn and use this engine in a timely manner. Not only that, but documentation on this render said an NVIDIA 1080 took 1 and a half hours for this dirty render so It would not be efficient.
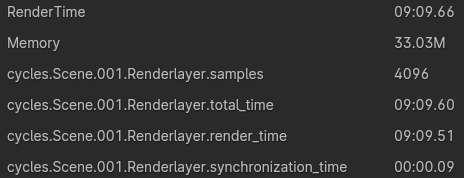

I have known that blender has the ability to render caustics as I have done them before. I decided to render a very small section to see what I could glean from it. The results were promising, The clamping allowed me to control how much I wanted and I could use the Glossy clamp to control the blur.
This render was ended early and without any denoising at 9 minutes on my laptop without any clamped caustics allowing it maximum irl physics and was only a miniscule portion.
Researching old Arnold materials from 2017, I know Arnold is capable of doing this without any of the workaround we were doing so I am a bit confused on why we are limiting ourselves to render time so much. My images so far barely go over 11 minutes and if I have to push to an hour for a good caustic I think it is worth it.
The tutorials I found were unfortunately too old and many options they used I simply could not find in the material settings.


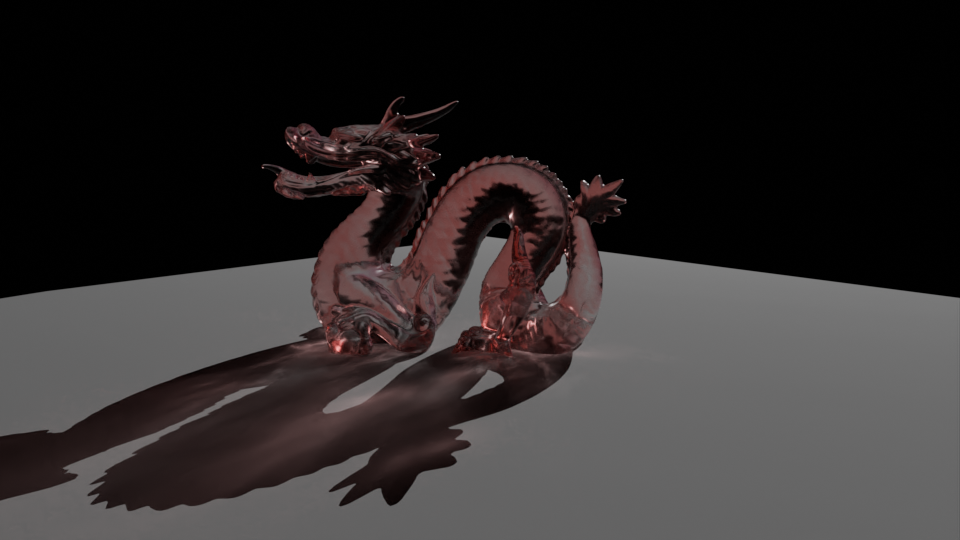

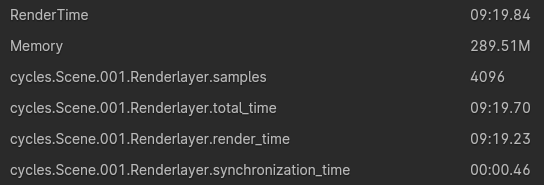
It was at this point when I realized I was not rendering with GPU which cut my render time more than 25% from more than 50 minutes (cancelled halfway) to 8 but muddied the caustic significantly.
I discovered lowering path guiding (an option used to train light path approximations) would result in very low render times with very decent results. I did, however, also halve the resolution for speedier renders but with 9 minutes for one frame, I consider it a win even if it isn’t as sharp as a real caustic.
Unfortunately, without the ability to use blender on the render farm im severely limited. There is, however an online renderfarm I can use but with a points system.
Although the point count and giveaway is lenient, I would not be able to liberally use its renderfarm as reliably as SCAD’s.
Researching more about Arnold Maya leads to many dead ends and methods 4 yrs old or more or trying to mimic caustics casted from unseen objects with gobos.
Upon more research I discovered Redshift can do the job of caustics well and is render farm supported. I will have to test it and get redshift on my comptuer to use with maya.
Blog 05 2/11/2024
Composite Test
Ground Geometry Building
Camera distortion


This is where the camera distortion started to rear its ugly head. The real world geometry of this location is in fact correct and right angled but unfortunately, the camera seems to have been distorted which is something I noticed in the beginning but ultimately my team didn’t know how to avoid. I am convinced my geometry is correct even in placement but without a method to undistort the image I am not confident in the final comp.
I can also now see my dragon slide a little bit most likely because of it.
I used blender for modelling after exporting the camera motion and current geo via fbx which worked fine. Maya is not very friendly to quick modelling and not only hides many simple tools such as edge loops but does not make applying these tools quickly and simply. I don’t think I could stomach to use Maya for any modelling other than re-topology which is the only leading part of Maya modelling.
Importing was a little annoying as I didn’t realize I wasn’t in the master layer and I needed to scale down blender to maya units aka meters (x1) to centimeters (x.01)
The final’s volume apparently had the projected texture somehow moves with the camera? I don’t know how that could be will look into later
I also forgot to add the fracture into the tree mostly because I’m not sure how to add it.
I feel a lot of confusion in this project as it feels like I missed classes somehow I’ll have to revisit this project in much detail.
Blog 04 2/06/2024
Volume, Fresnel, Glass, Subsurf masks


Just trying to get all my masks in order in the render layers.
Subsurf has that strange ramp clipping on the marble noise again.
I didn’t save the file properly when I fixed it initially and cannot remember how i fixed it. Tried resetting materials and I am using a spotlight instead of an AI light.
I don’t understand how the volume scatter color and the transparent color interact as the colors seem vastly different from their inputs HOWEVER I really really enjoy the current colors they gave me.
Volume step size AND padding are 0.1
Blog 03 2/05/2024
Proj 2a turn in
Test track
match light pos
choose OBJ
Start materials


Blog 02 1/30/2024
Reshoot, track, setup
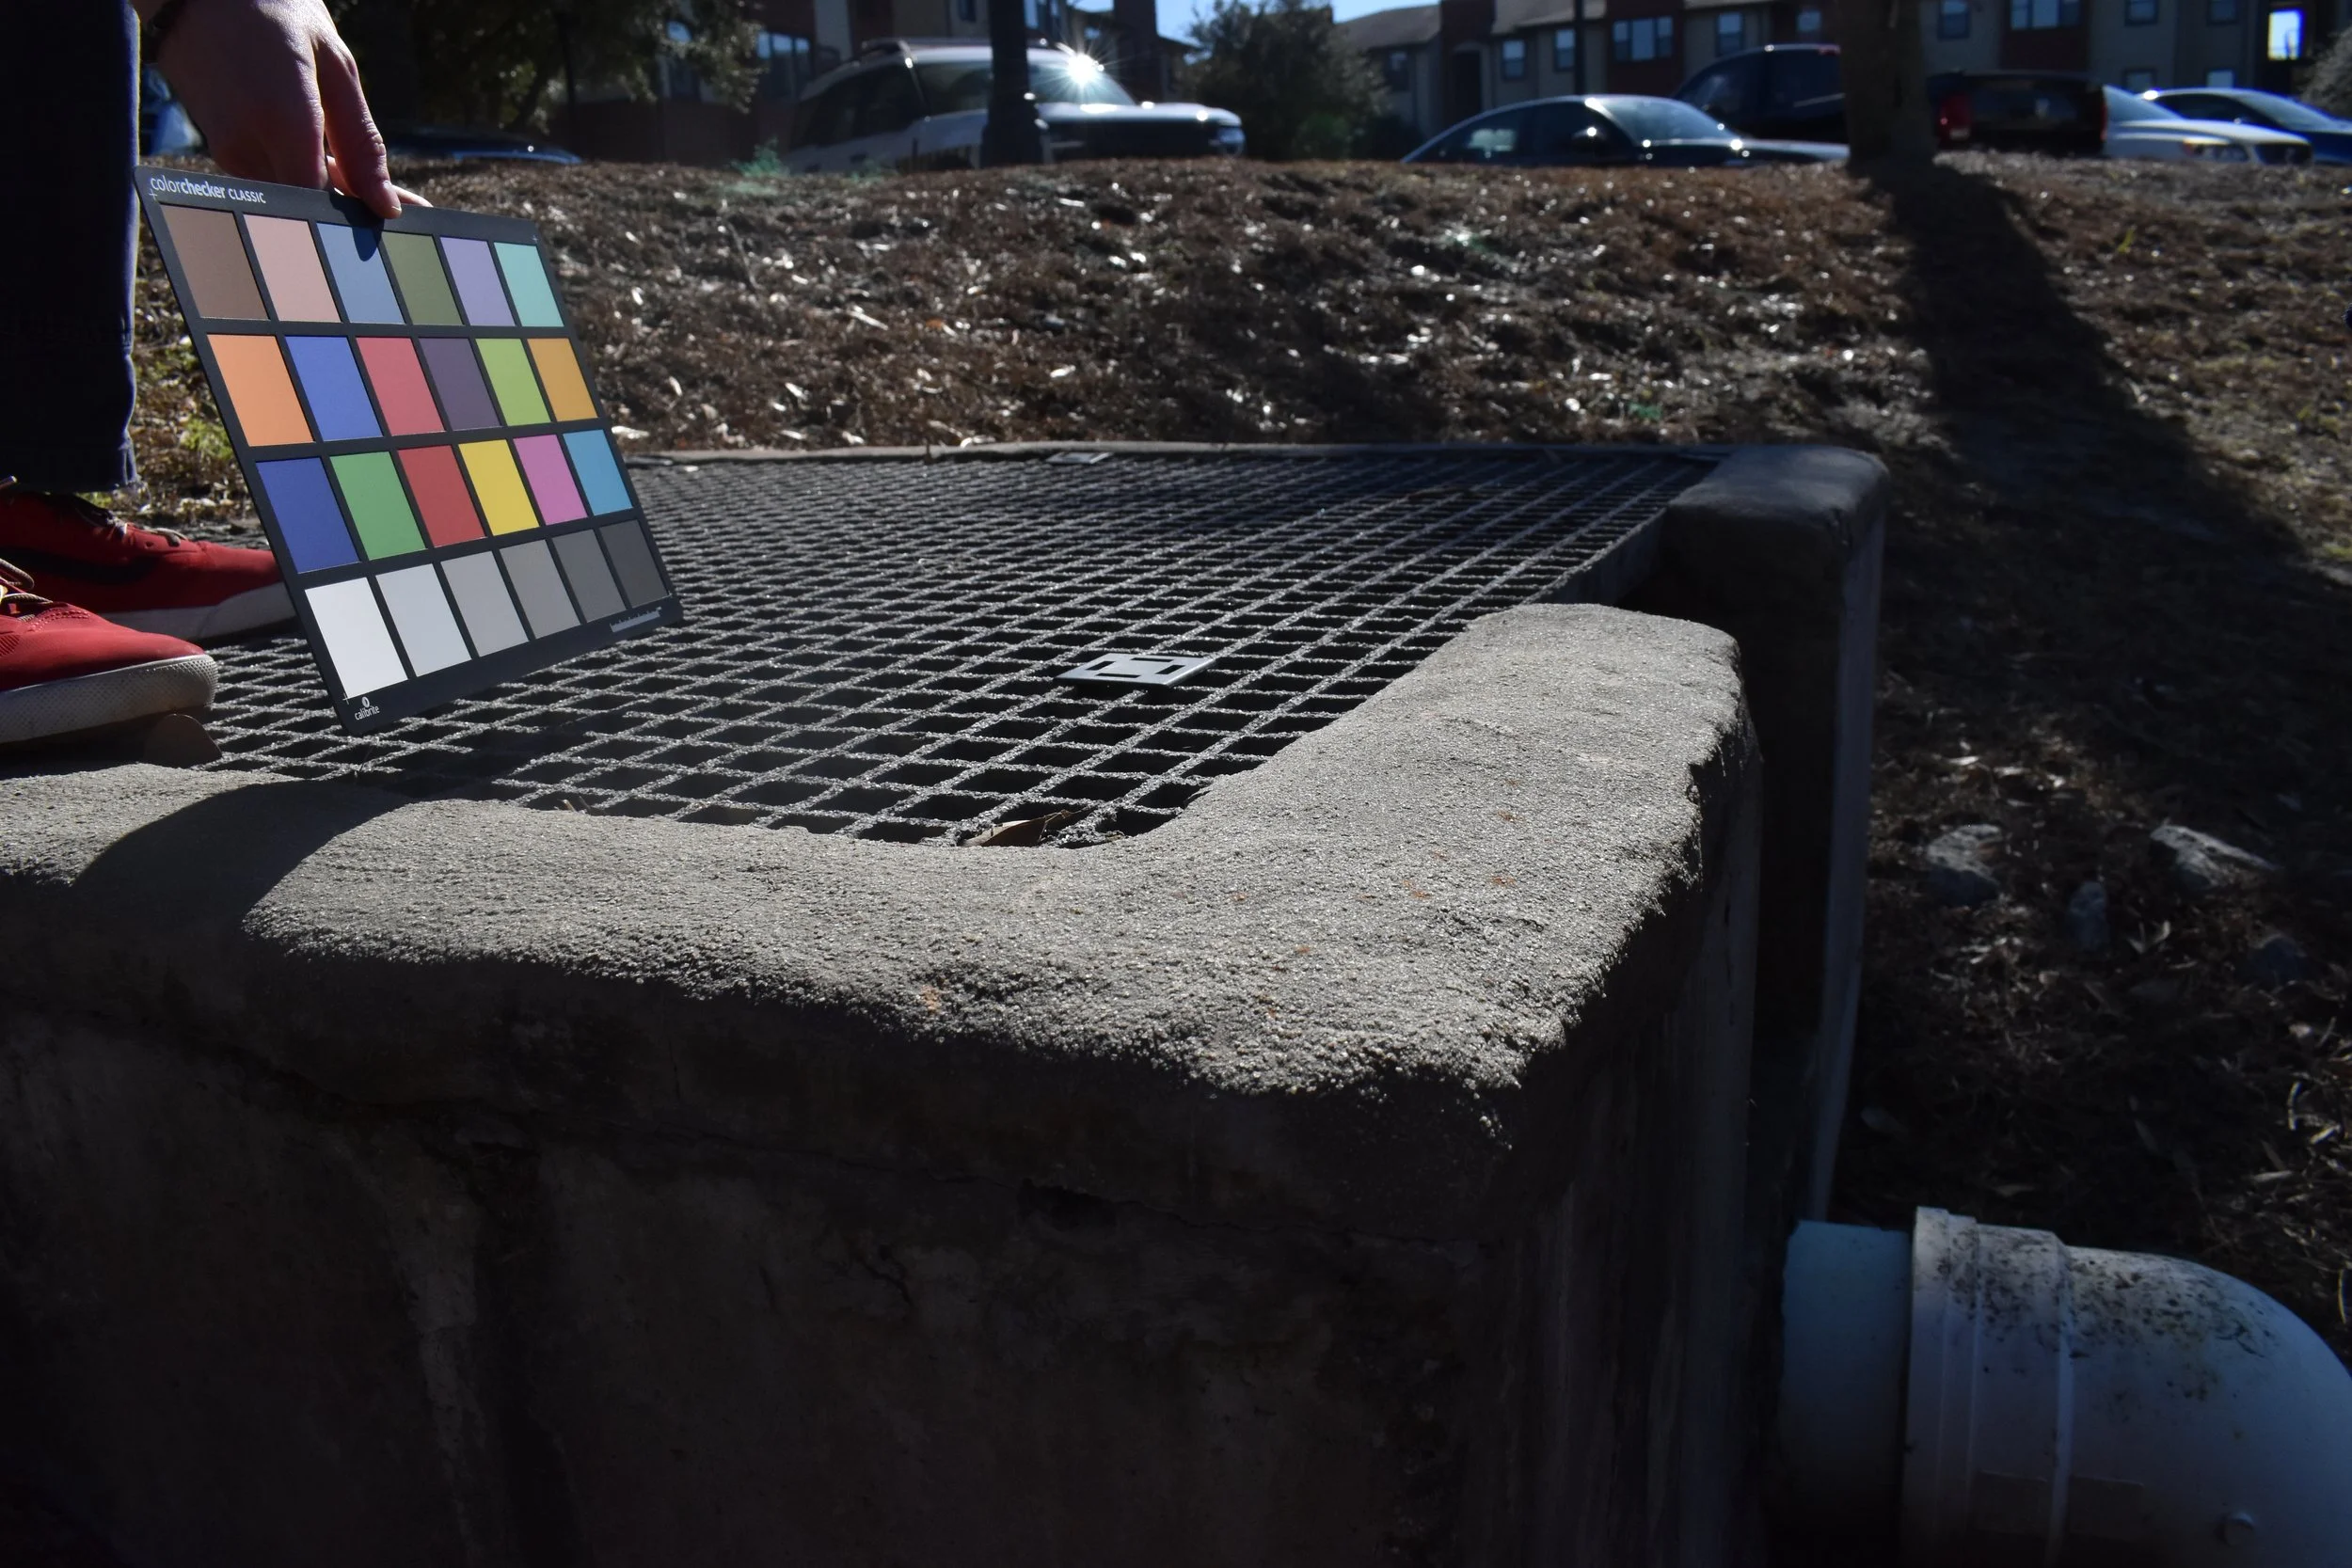
I liked the look of the rough stone and leaves. It felt more alive than the other shoots.
If I am feeling brave I might model the grate to get accurate shadowing but it doesnt seem to have light on the sides.




Blog 01 1/27/2024
Photos


Took photos Saturday on a sunny day. I liked this photo for its really nice sun angle.
Will have to retake tomorrow however as we forgot the shadow plate and some of them are more out of focus than we’d like.
It was hard to tell on the digital camera so we are going to try to use a blanket/jacket to see the screen better in sunlight.
I’m also noticing some warping on the cube which would make perspective more annoying than it has to be.

