The Convergence
BLOG_13 3/5/2024
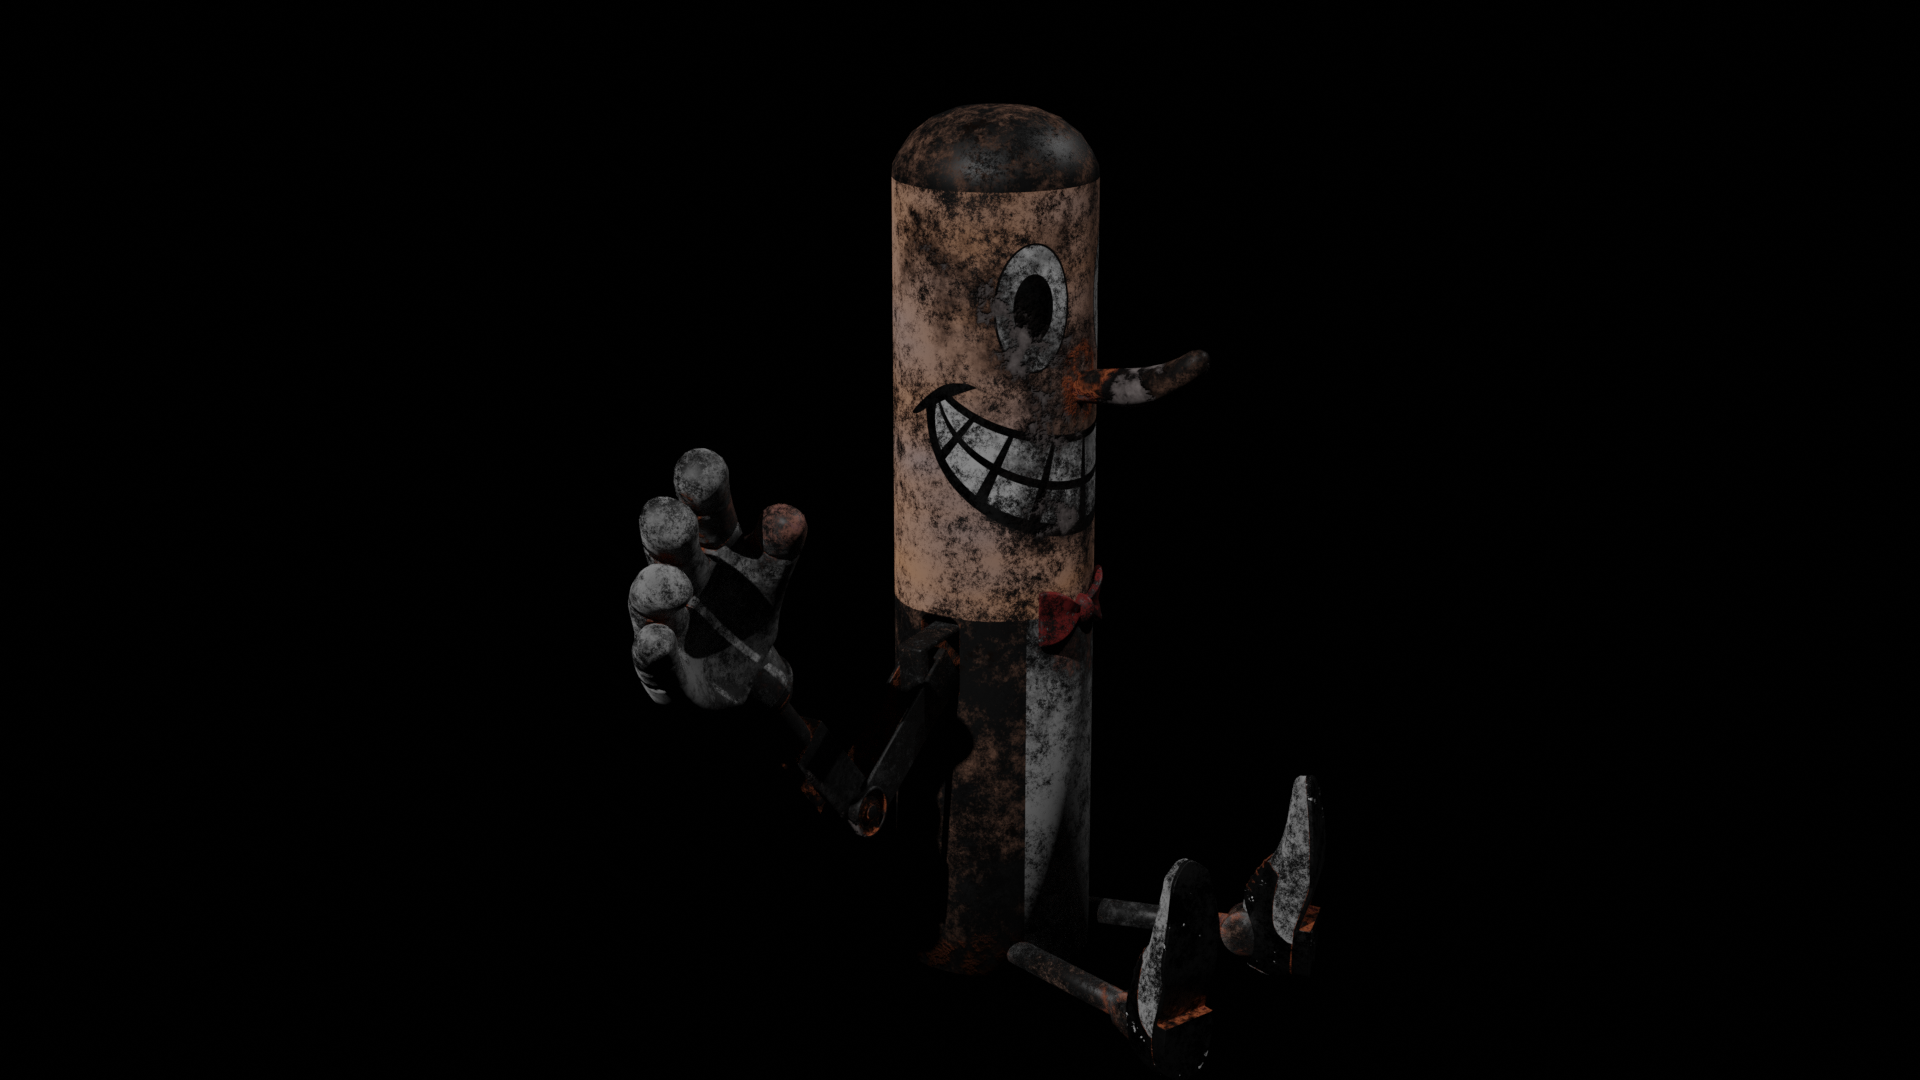
A few more signs and lowering the detail on the mascott
My personal life got in the way and I got sick for this blog but I got some iterations out and notes
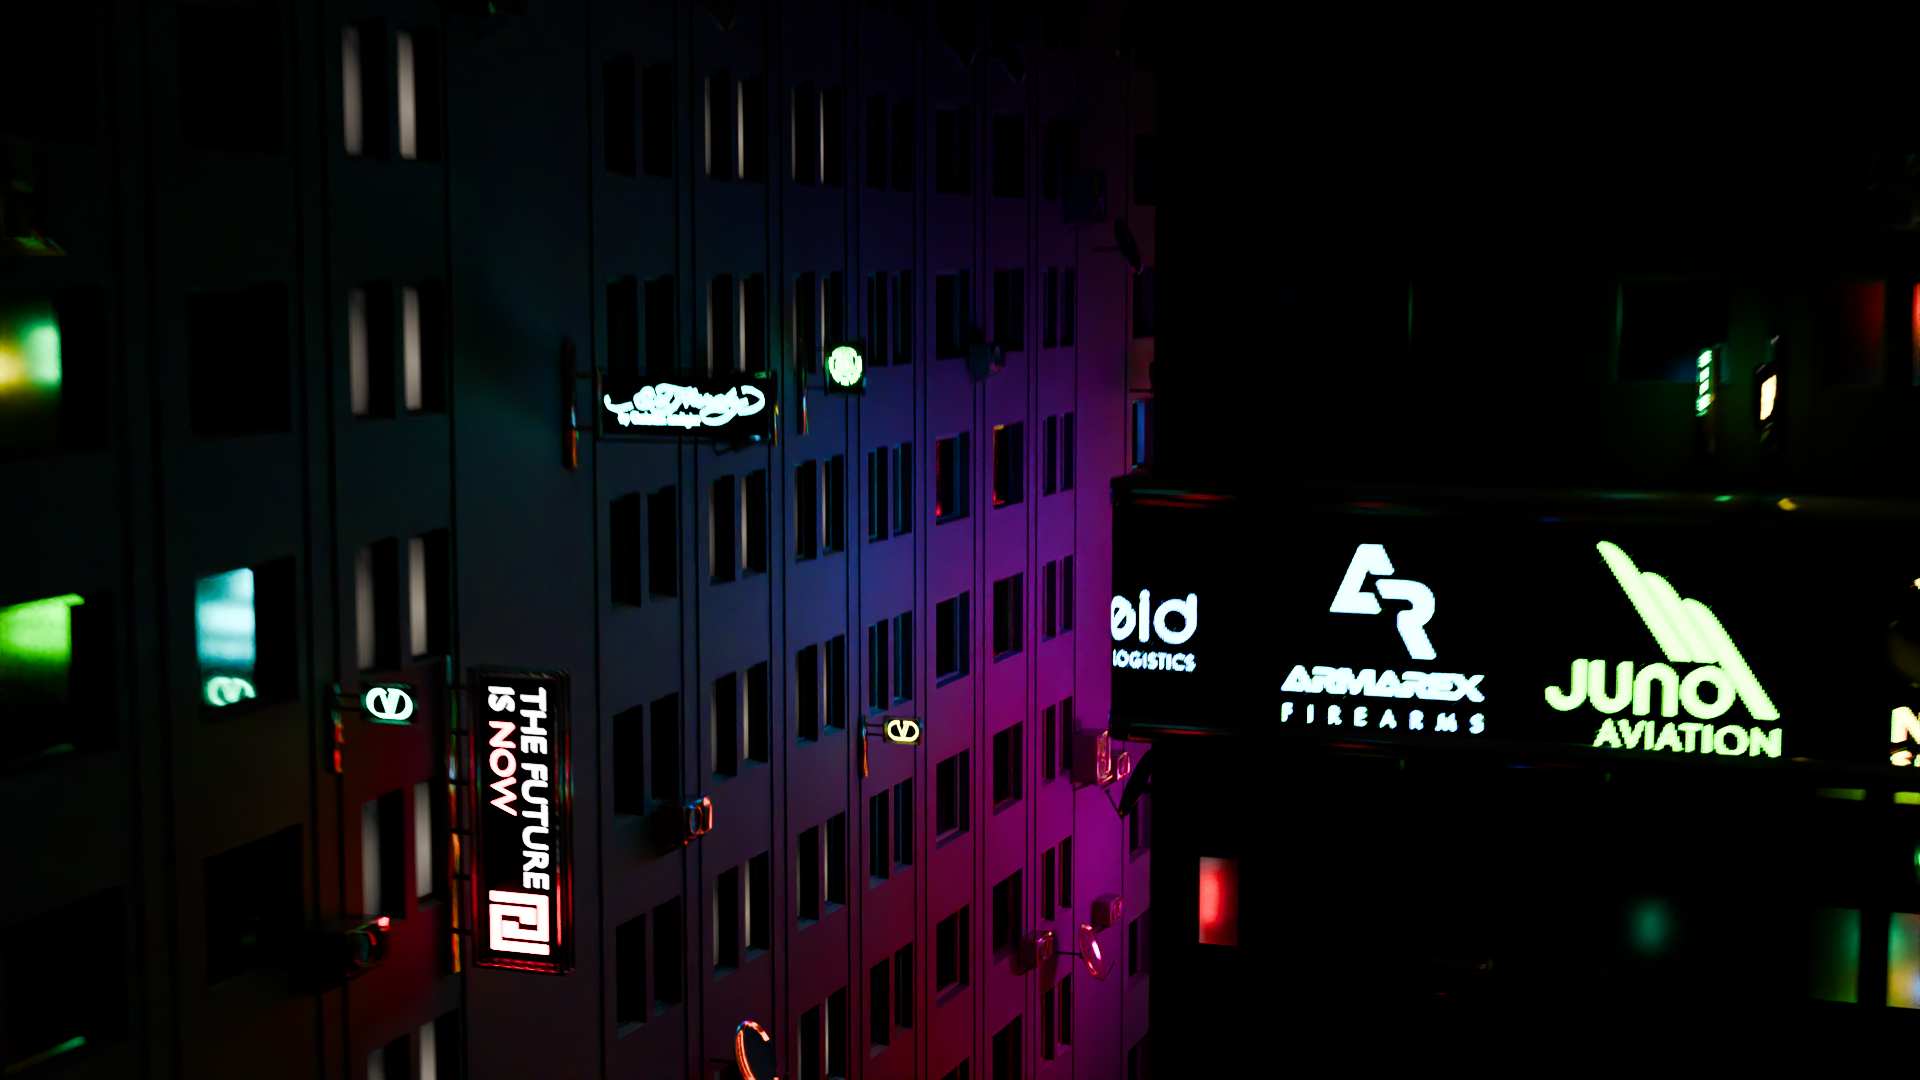
I can easily add more signs now and i made it so they all have a random color. Not sure if I like it but I can choose the color pallette
I either need to make the signs bigger or add more because I don’t like seeing multiple of the same one.
BLOG_12 3/2/2024
Grazz and new rusty material for the mascott man
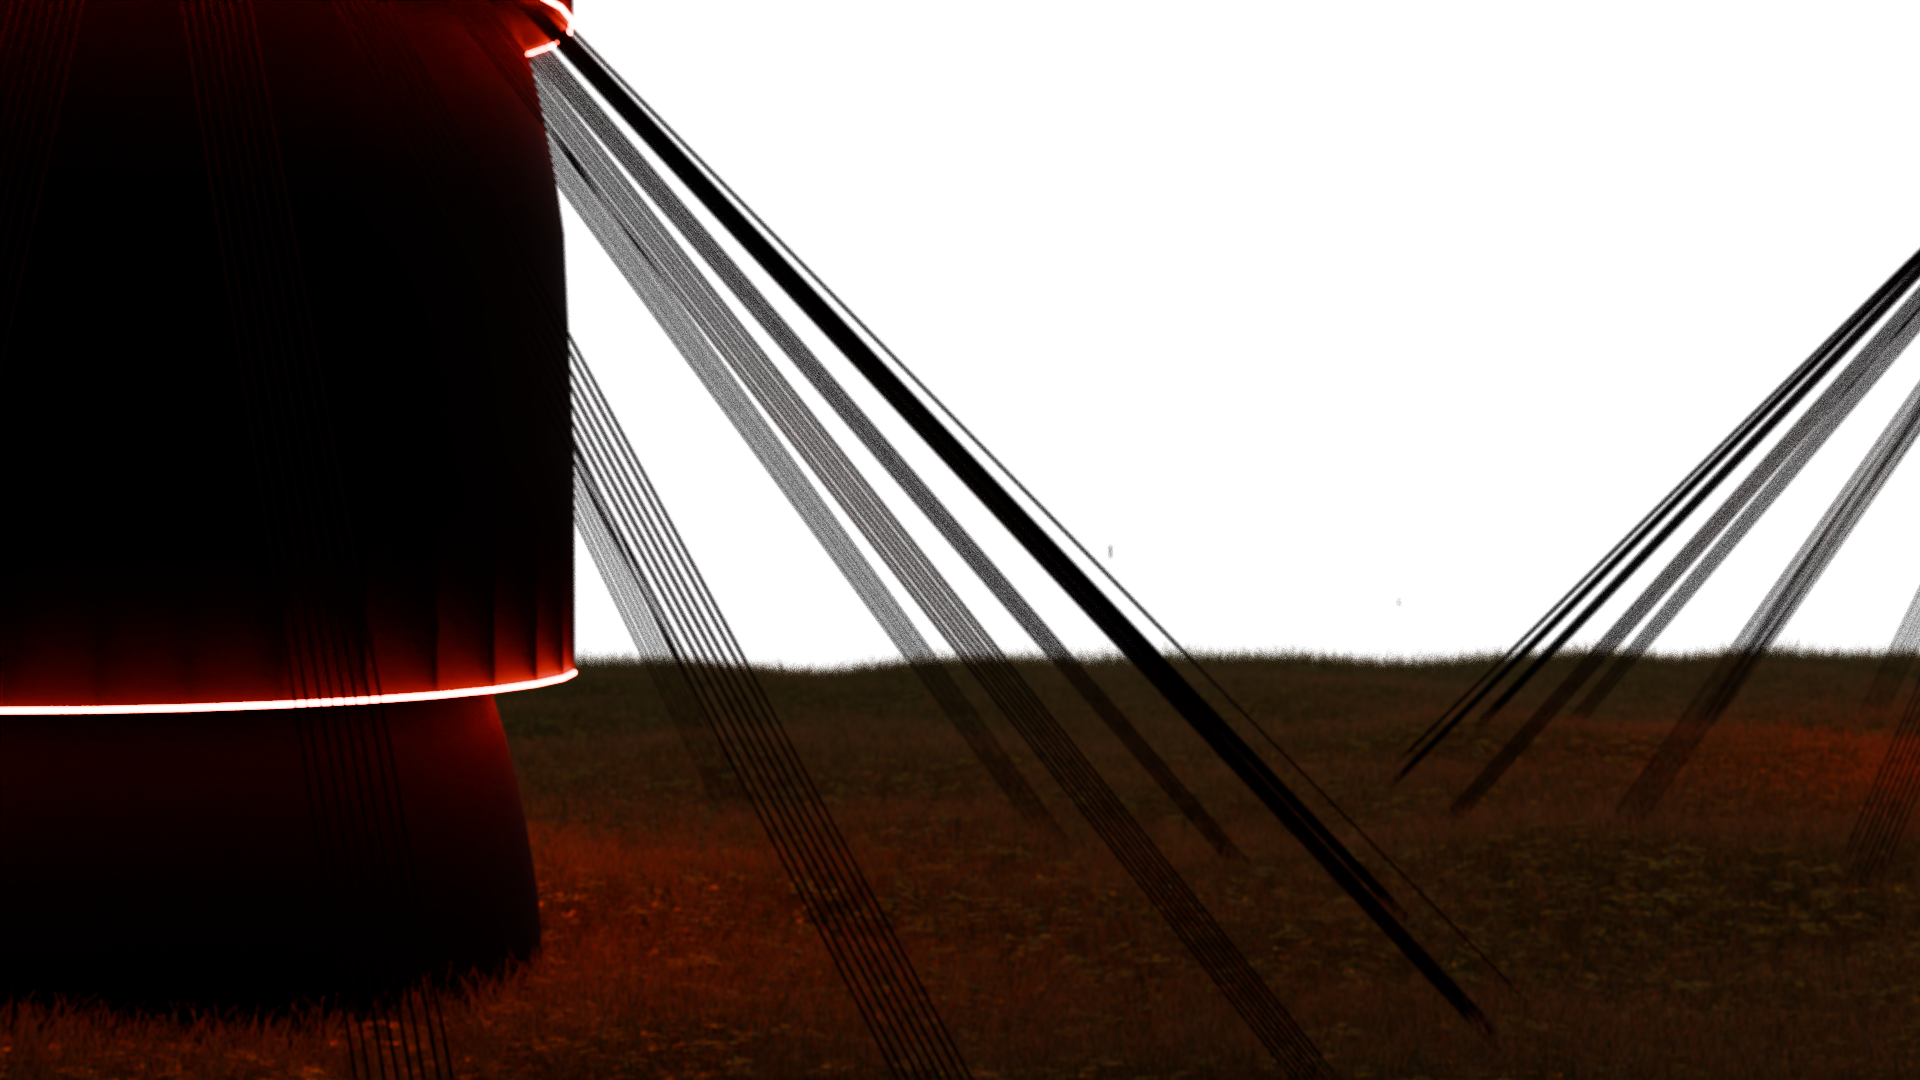
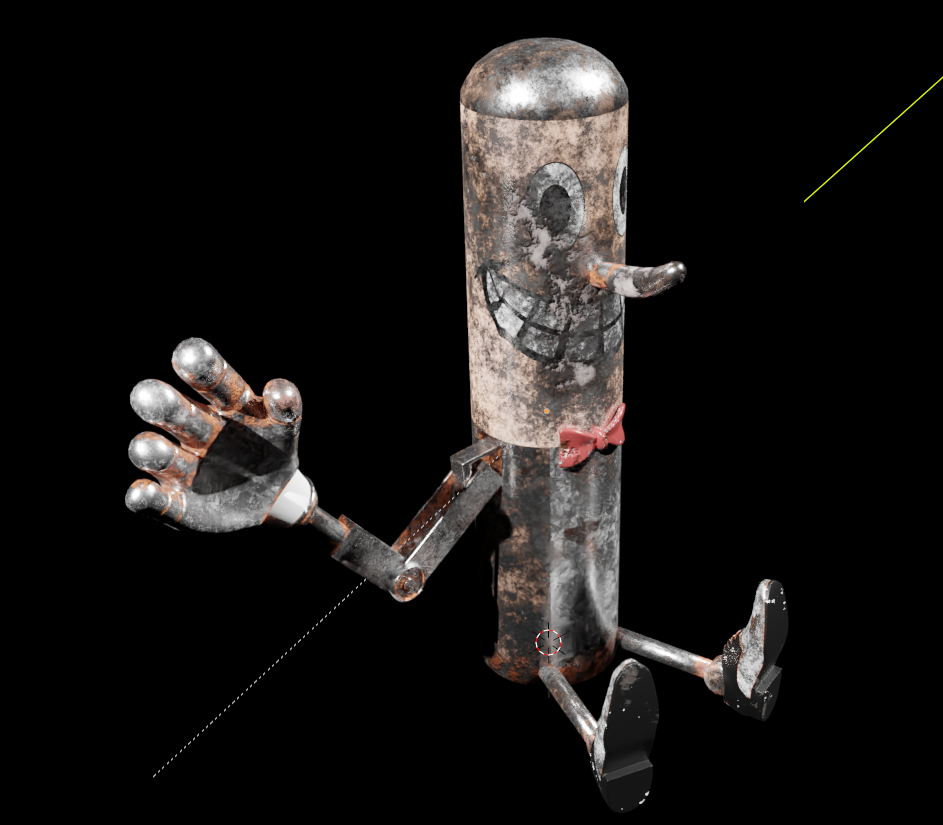
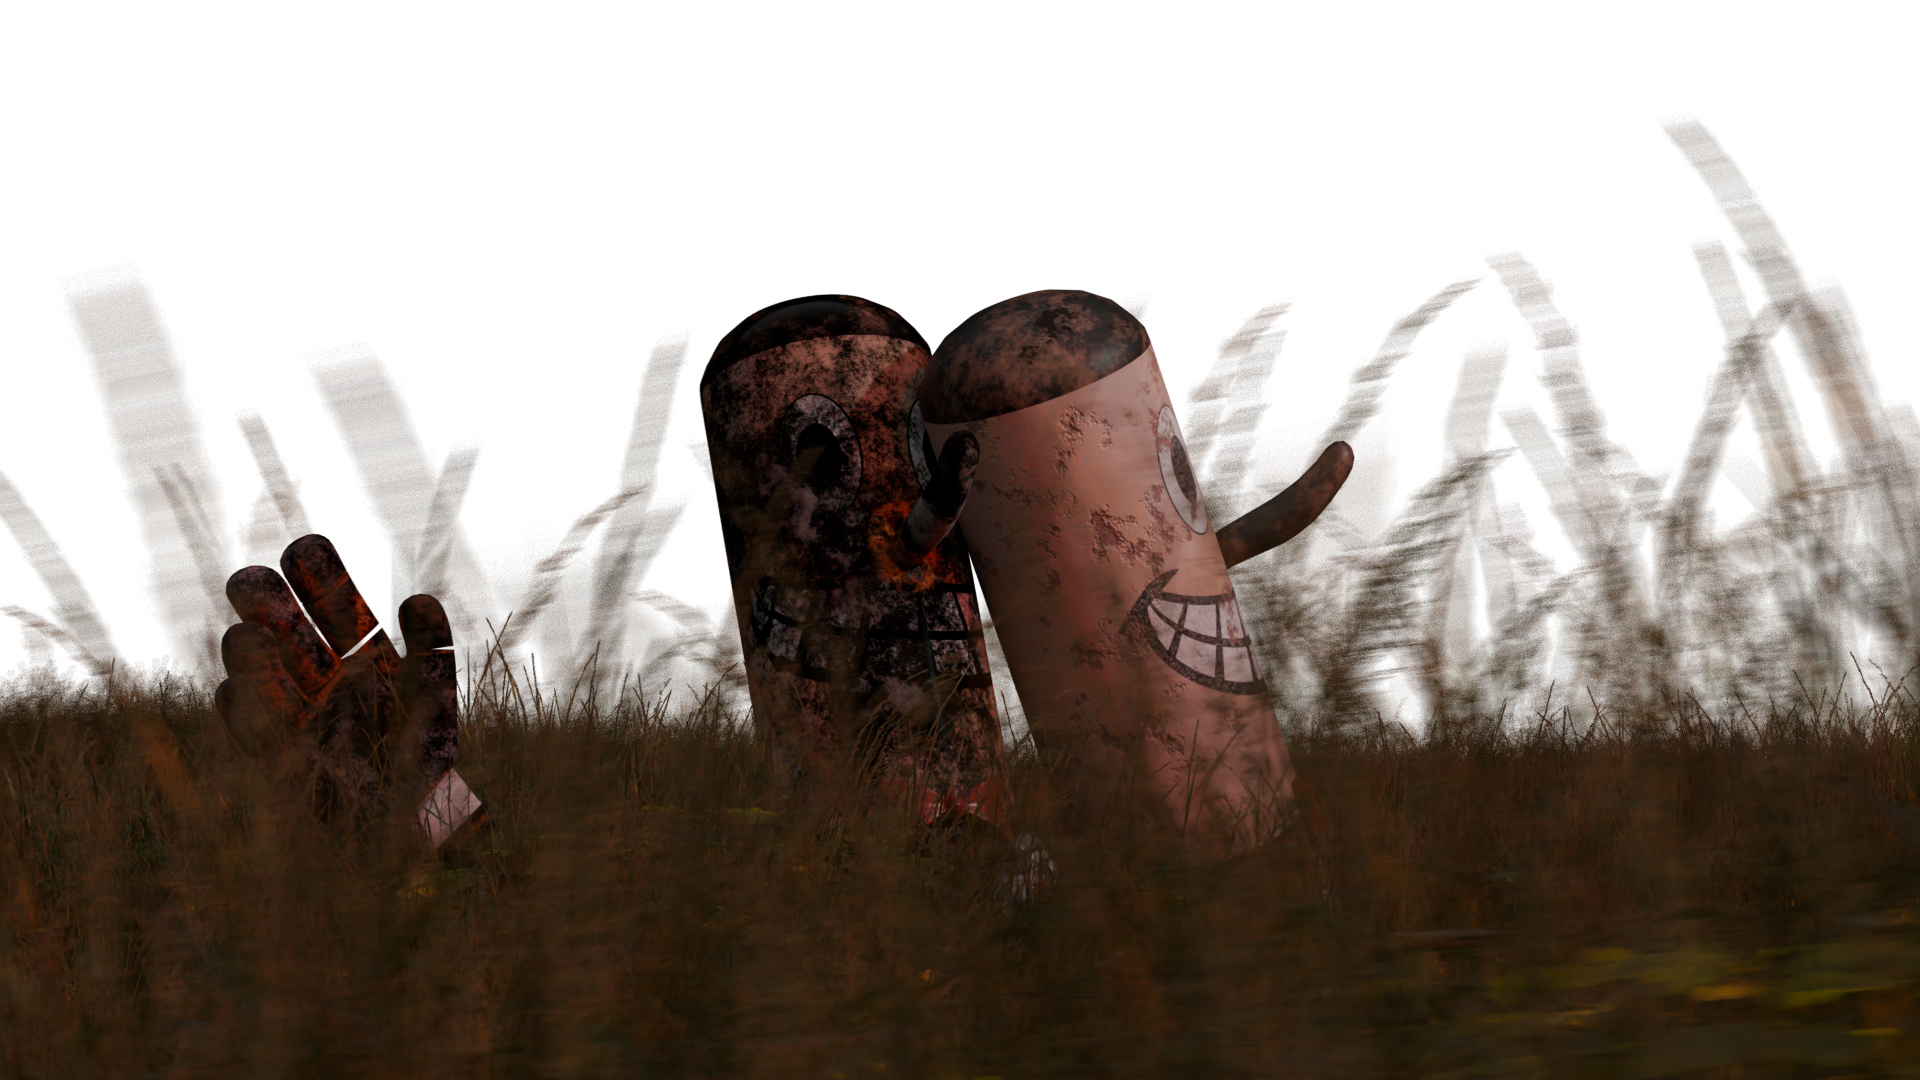
now need to fix strange normals on towers for some reason.
BLOG_11 2/24/2024
Scene 3 procedural instance material assignment
Scene 2 neon sign testing
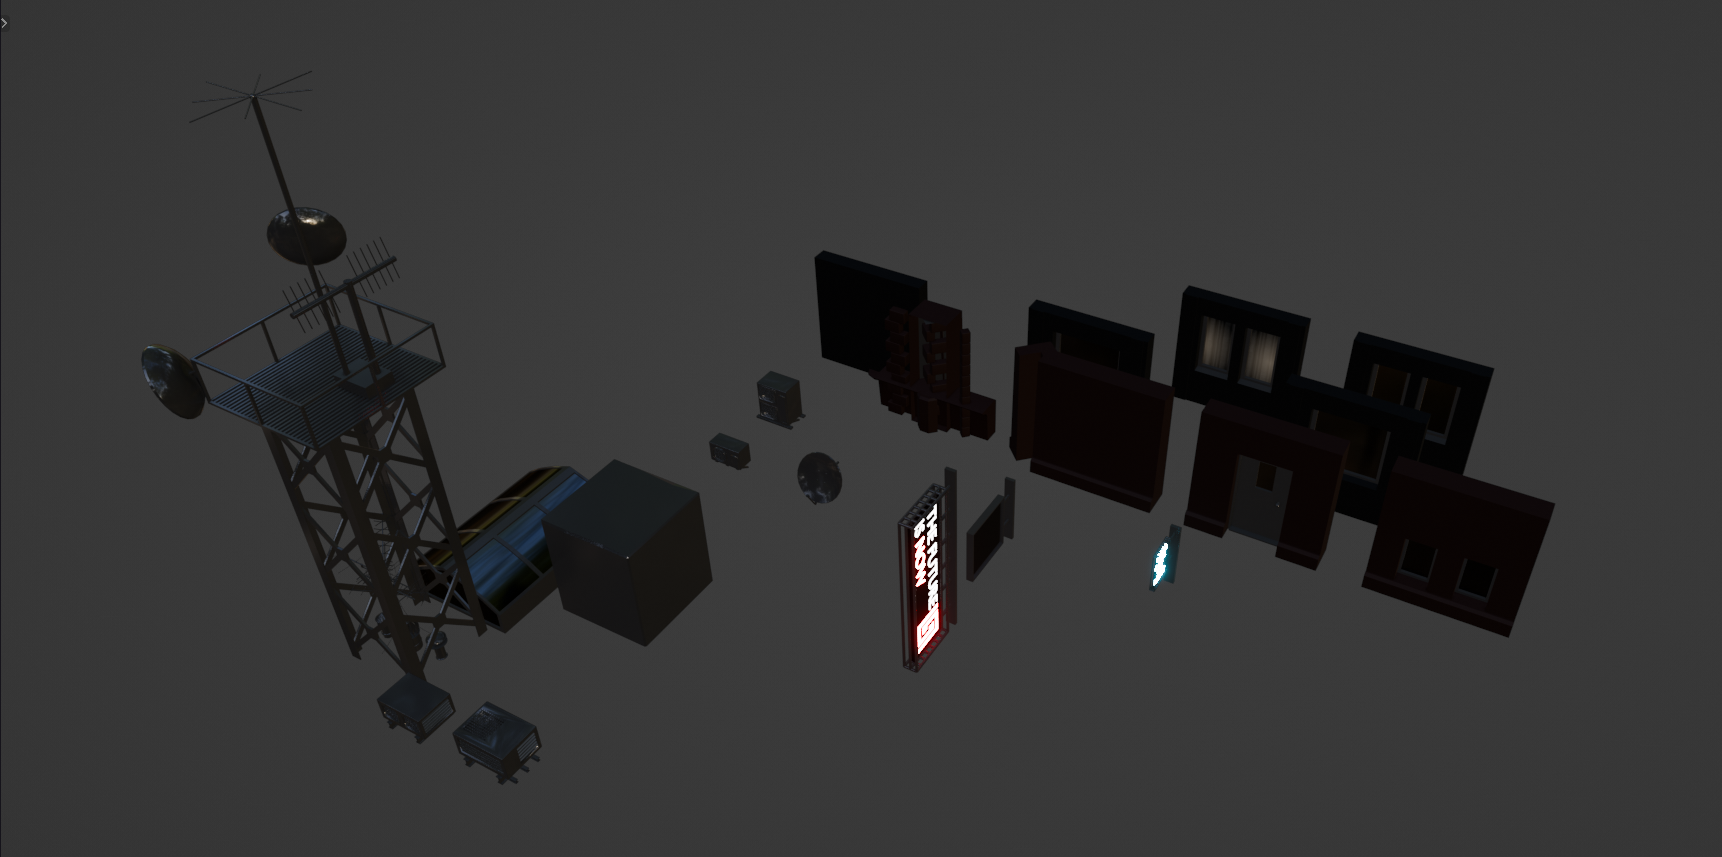
Scene 2 Needs more “trash” variety and I needed a quick way to add neon signs. I can use a simple method to use text objects to make easy neon signs and not only that dafont.com offers a host of object fonts in the form of dingbats which I will use as symbols and signs
BLOG_10 2/23/2024
Scene 3 procedural instance material assignment
I used a system to use one material to change the screen on different instances of the same object procedurally saving space on materials
BLOG_10 2/19/2024
Scene 2 Render
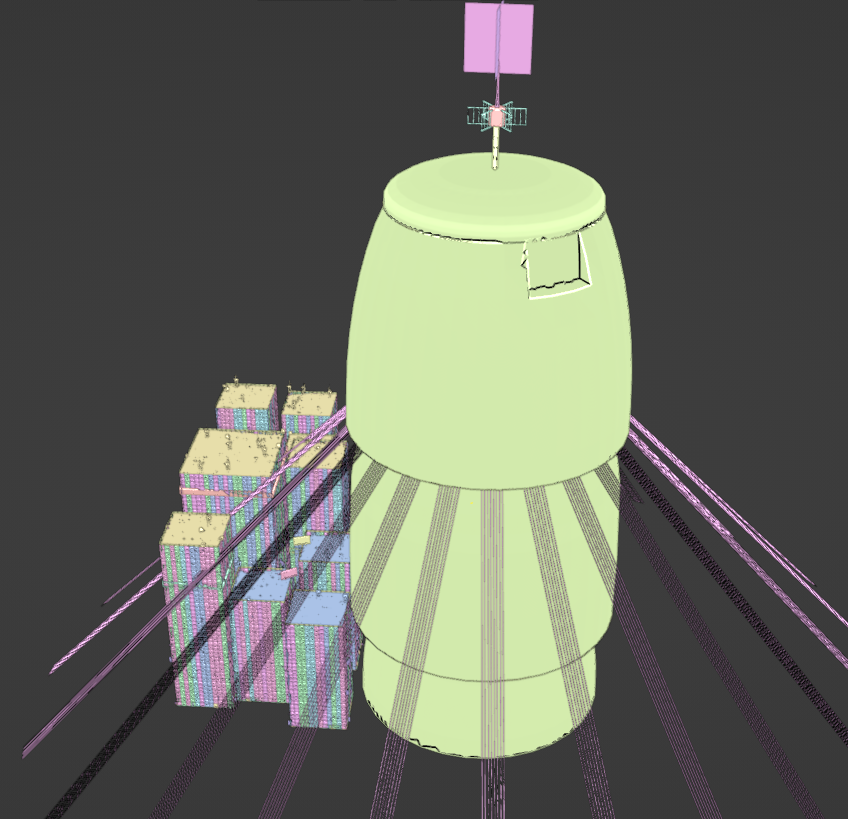
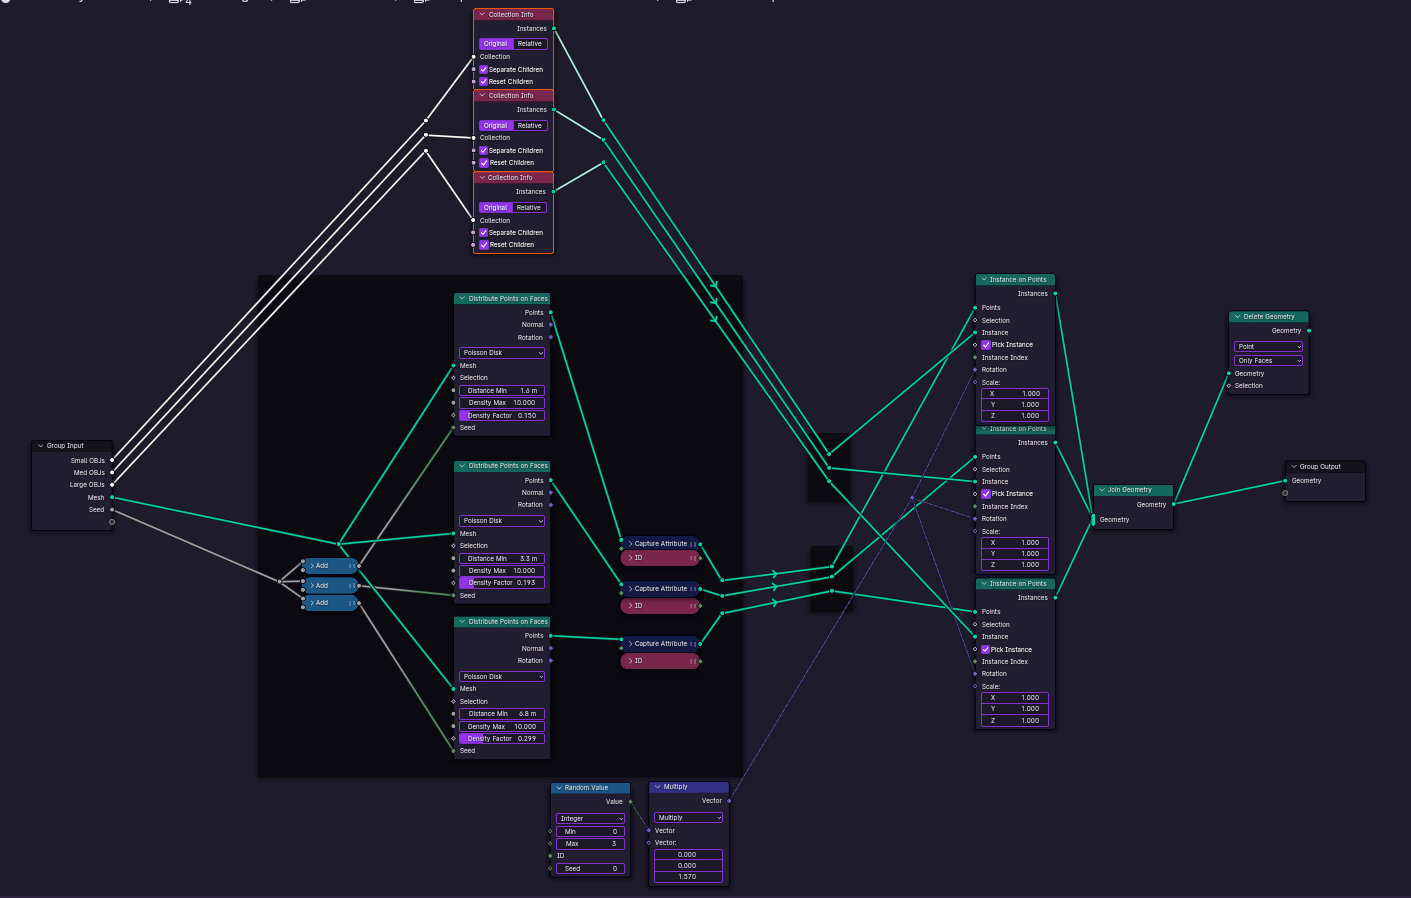
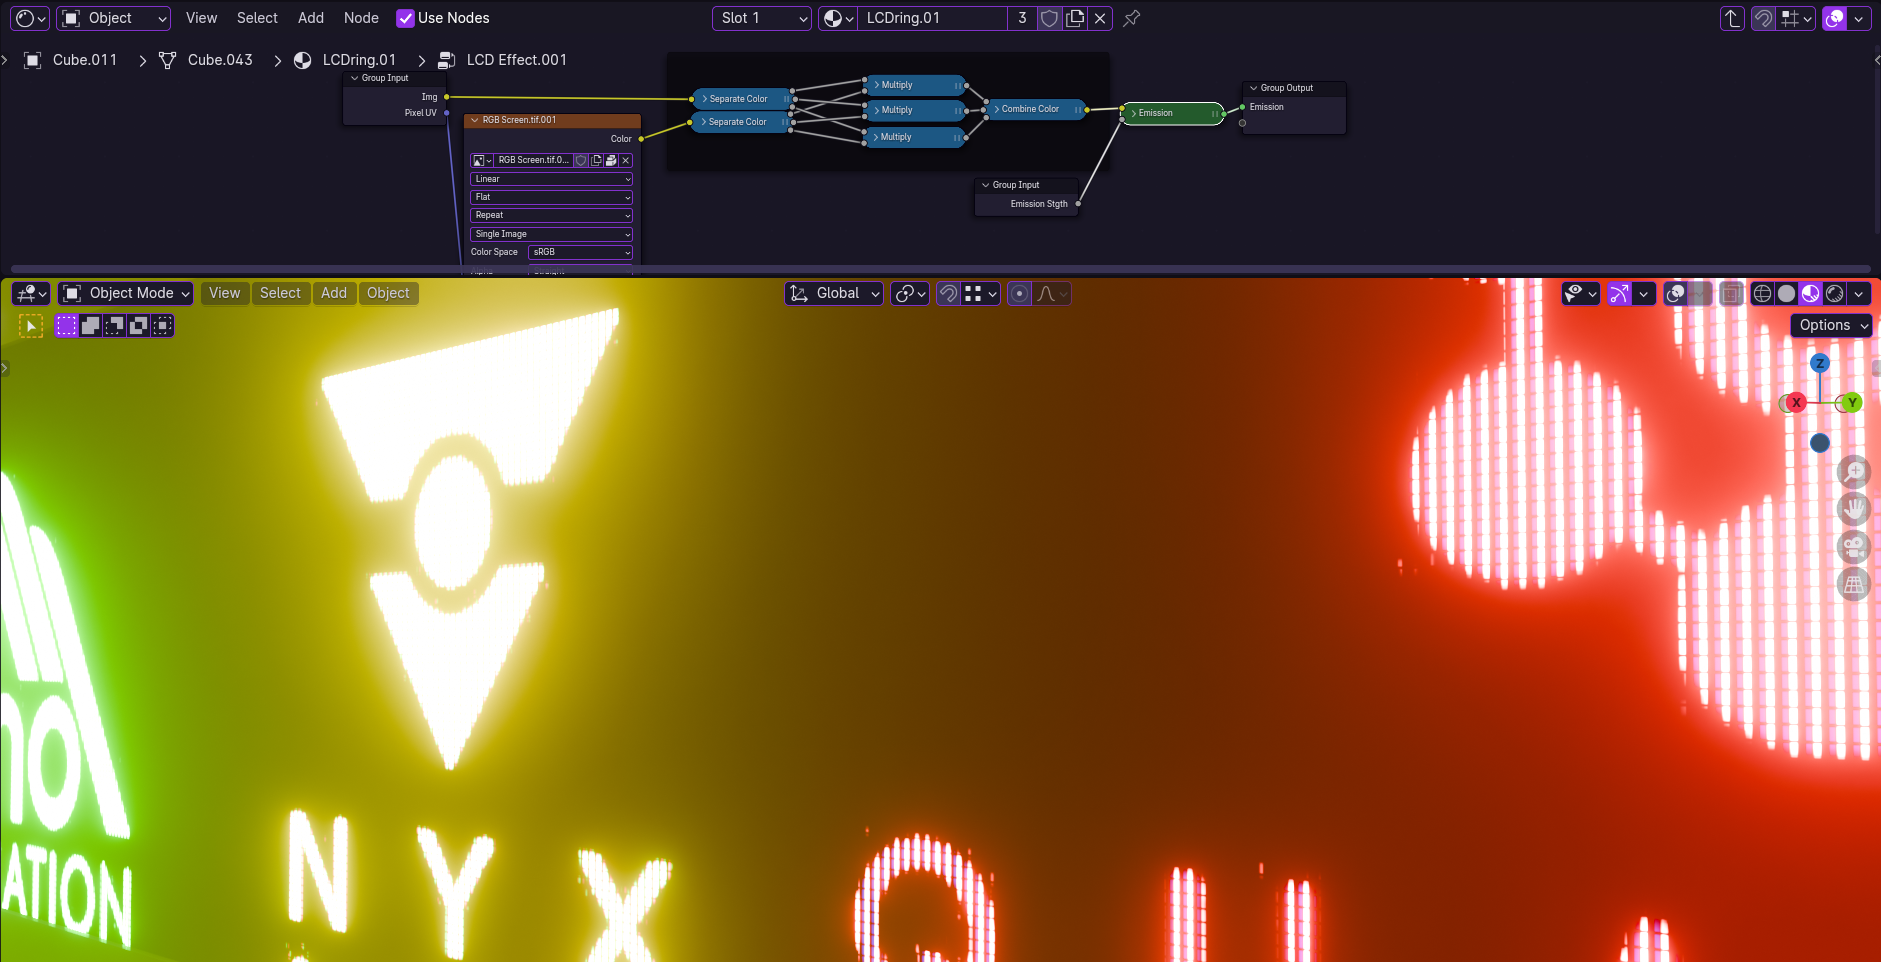
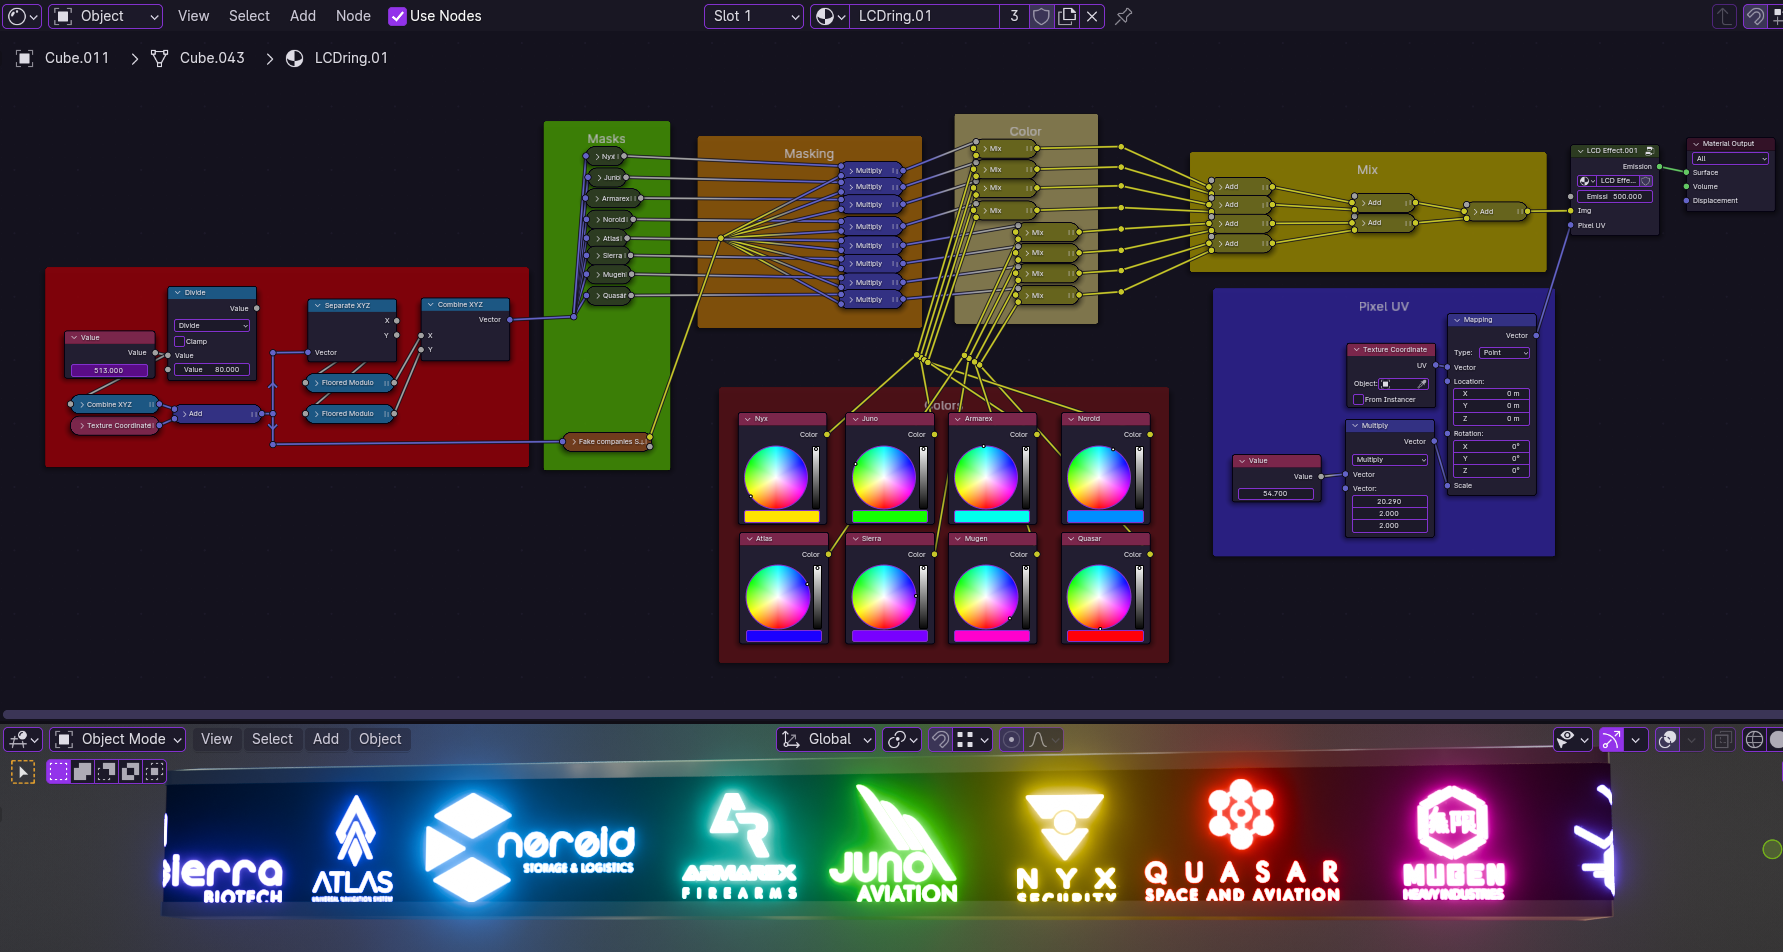
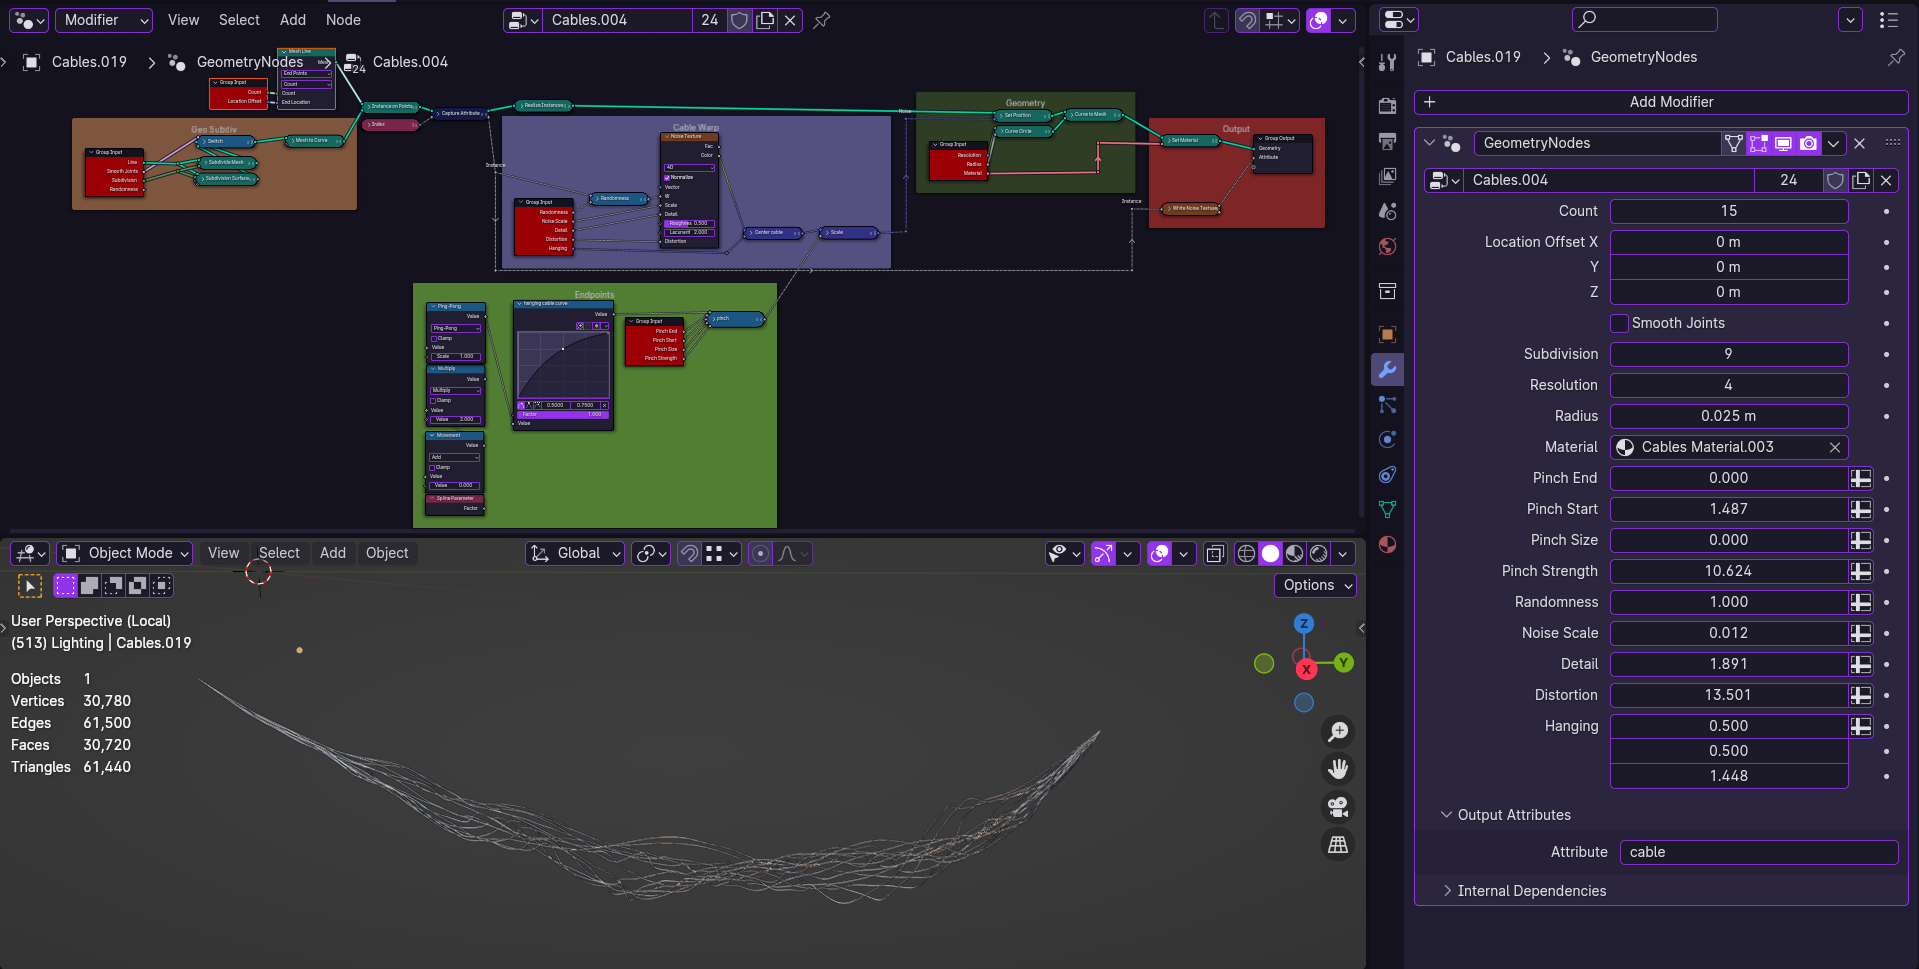
RGB LCD simulated screens for lighting,
Procedural cables,
Adding neon signs but need more variety. The process of making them takes a while and I want to make some for the rooftops. Probably won’t proceduralize the rooftop ones.
Render chewed through my points on the renderfarm and the edit has a lot of black space. Will cut some of the camera move.
BLOG_10 2/13/2024
Test Renderings

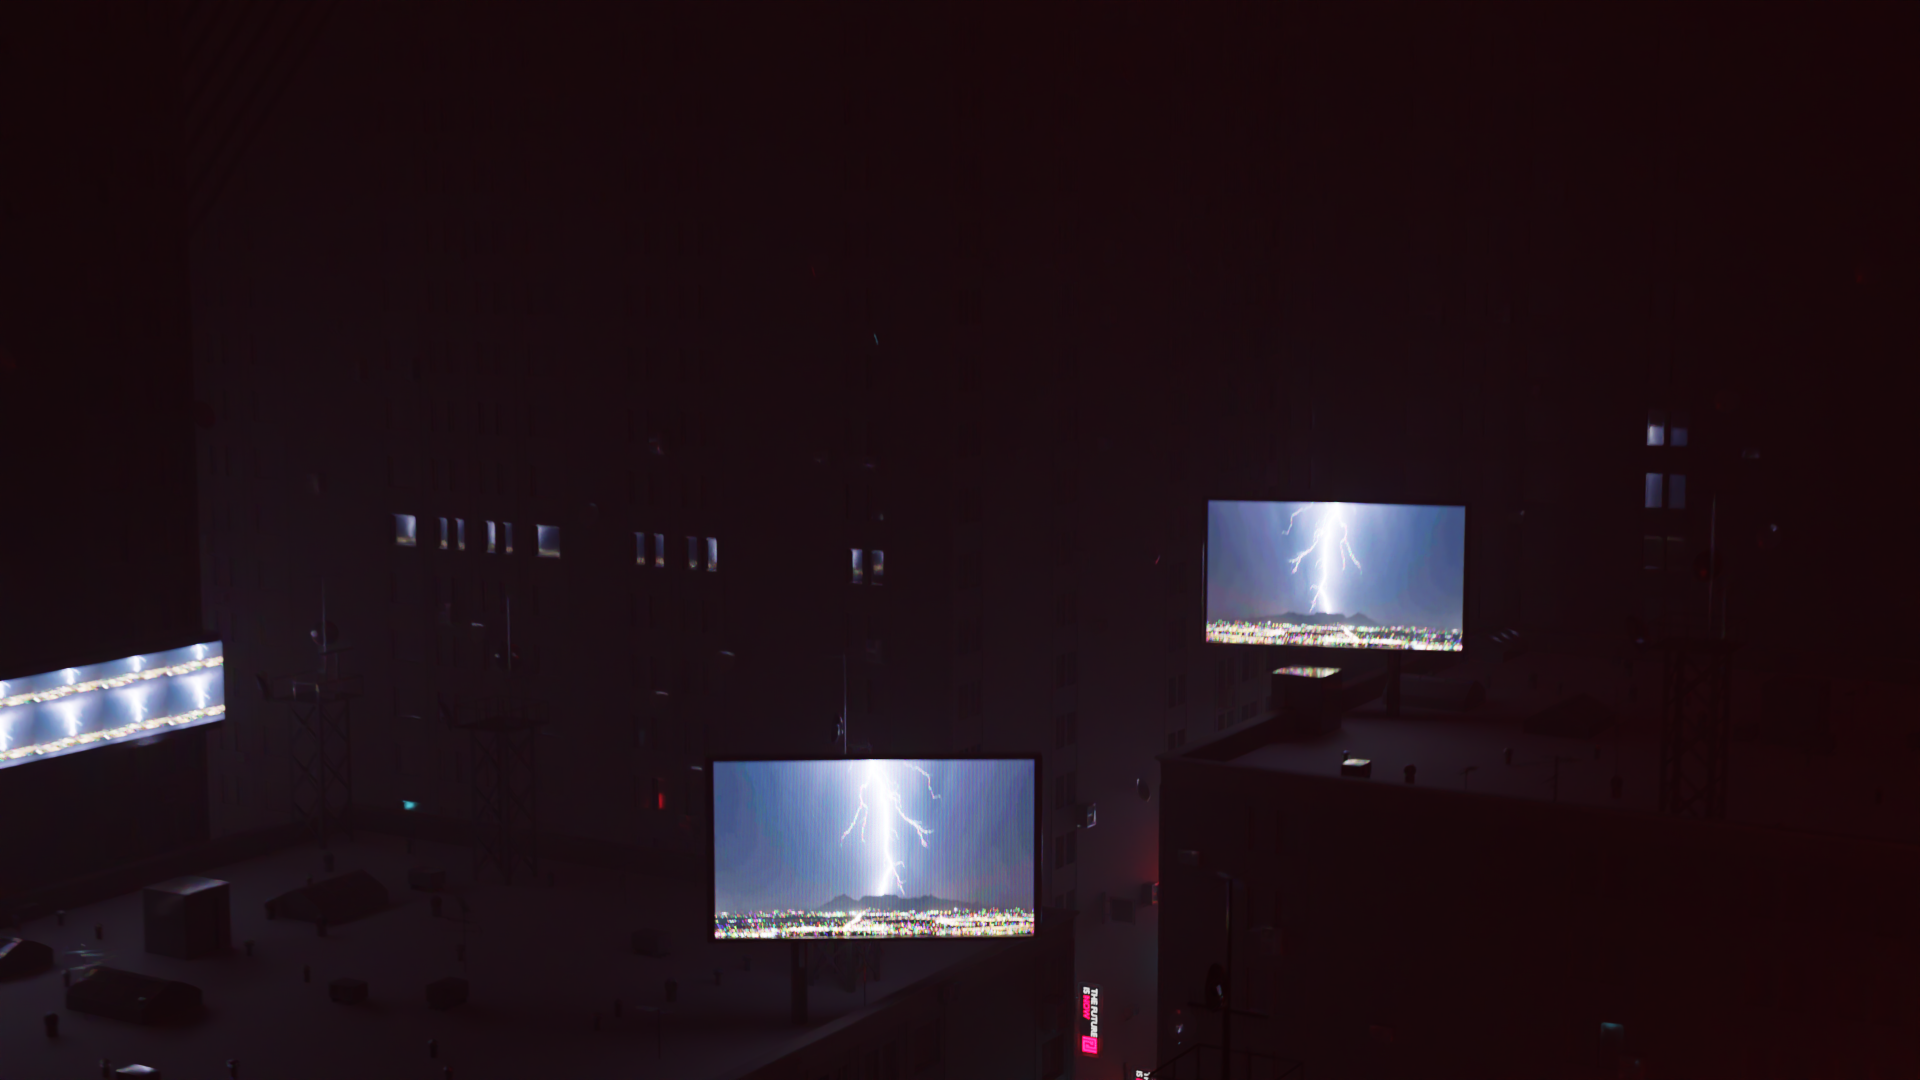
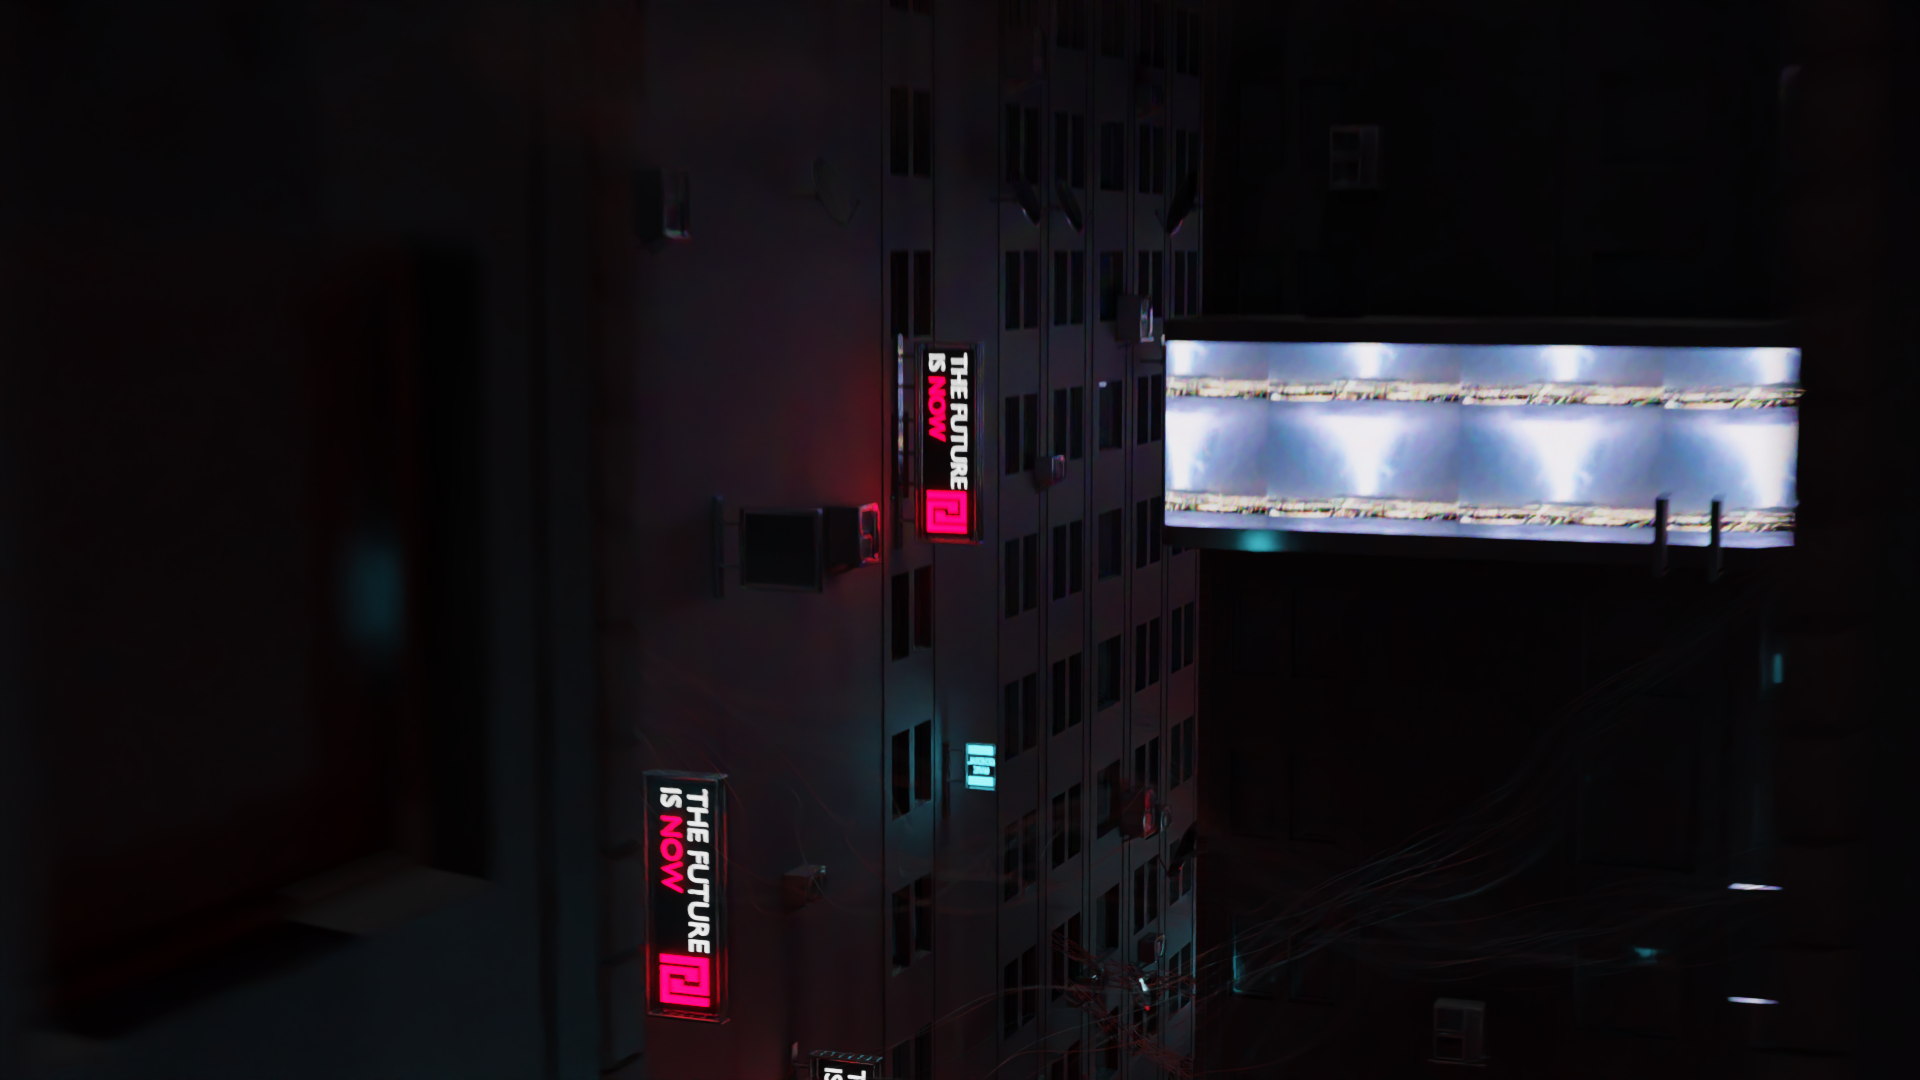
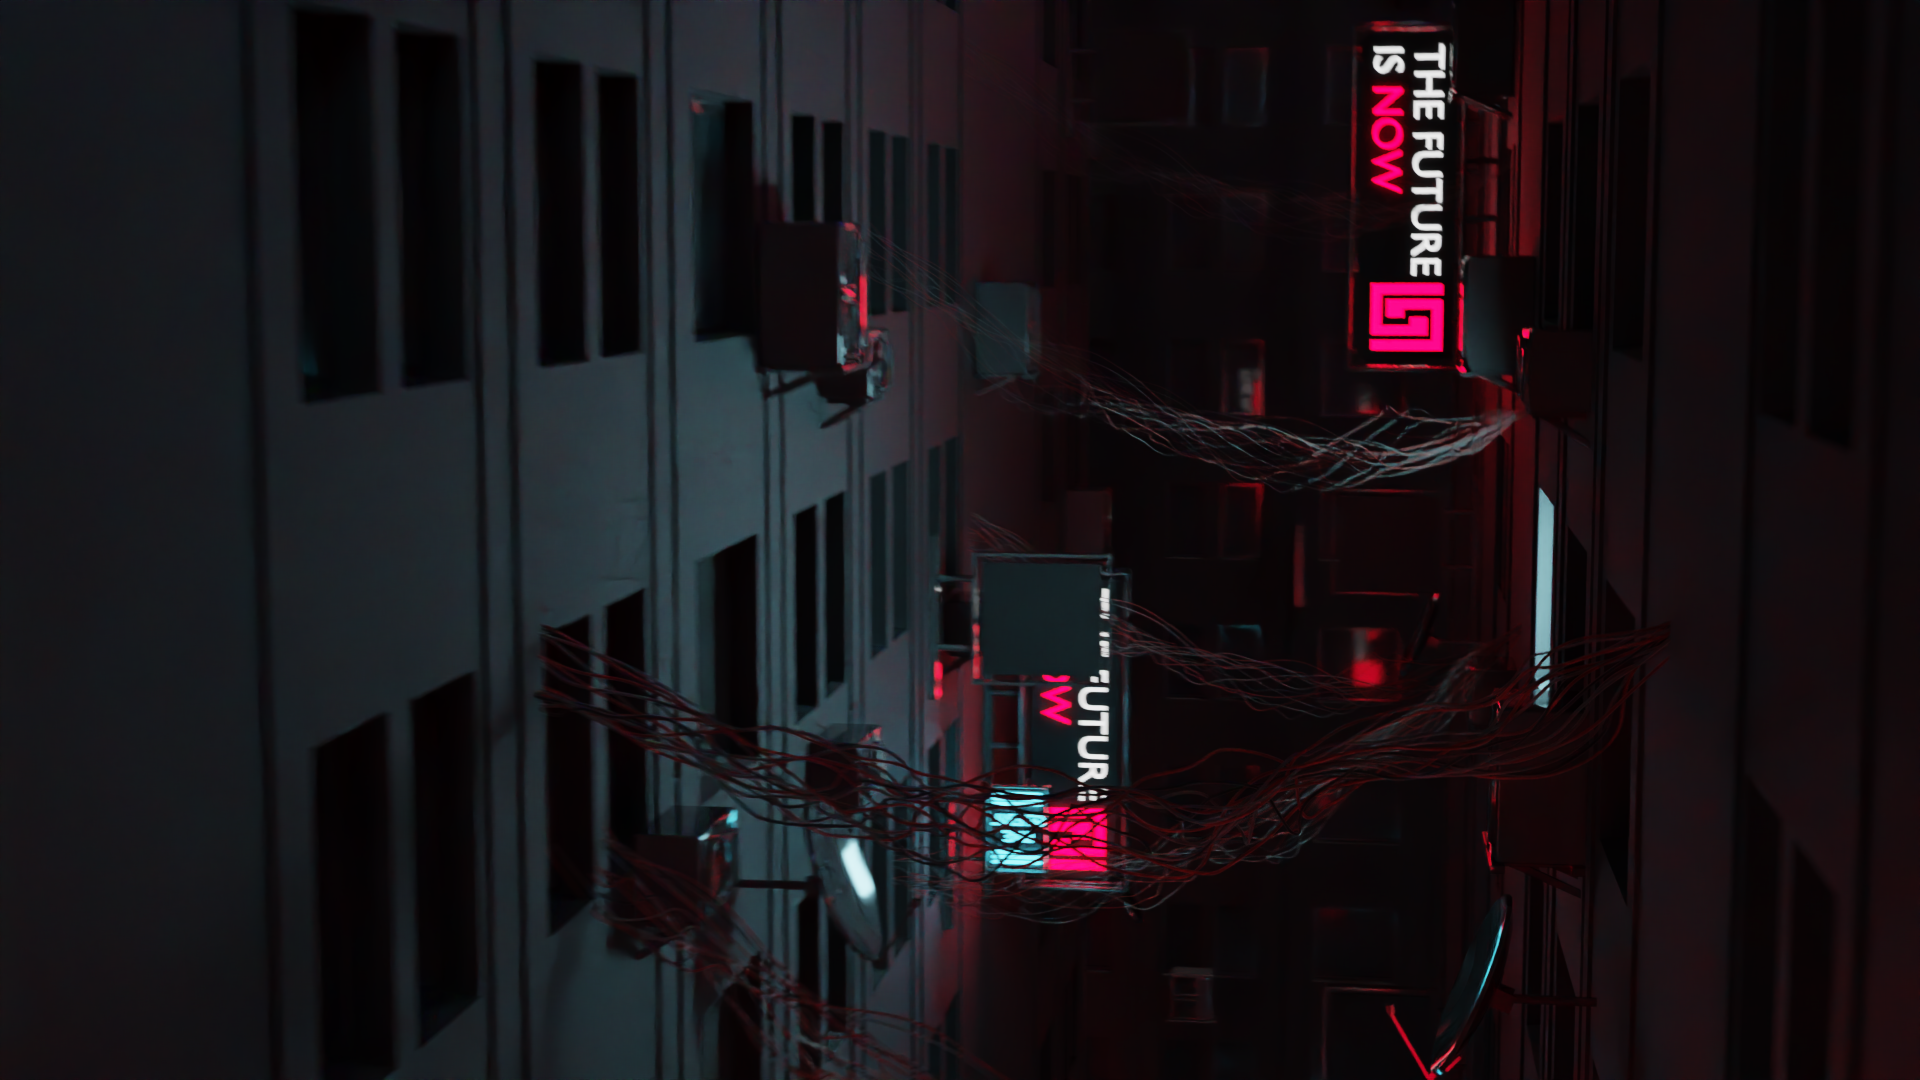
I really wanted to get volumetrics in this scene but it unfortunately made it extremely crunchy and the render times to get rid of it would have been horrible.
BLOG_10 2/10/2024
Edited beginning text for better transition
Testing volumetrics in scene 1 and 2
Quickened the intro and added volume clouds to the lightning strikes.
Upon inspection, I think I’m going to render the towers in the distance separately and composite them in to save render time and headache.
BLOG_09 2/6/2024
Driver for Animating Optimization
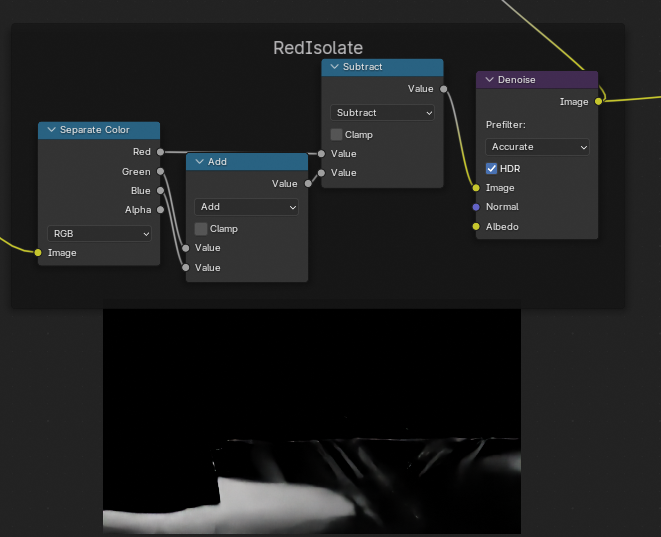
Compositing Setup for Isolating and exaggerating reds
Sheepit renderfarm experience
Scene02 Rework and Lighting Beginnings
FINAL TITLE: The Convergence
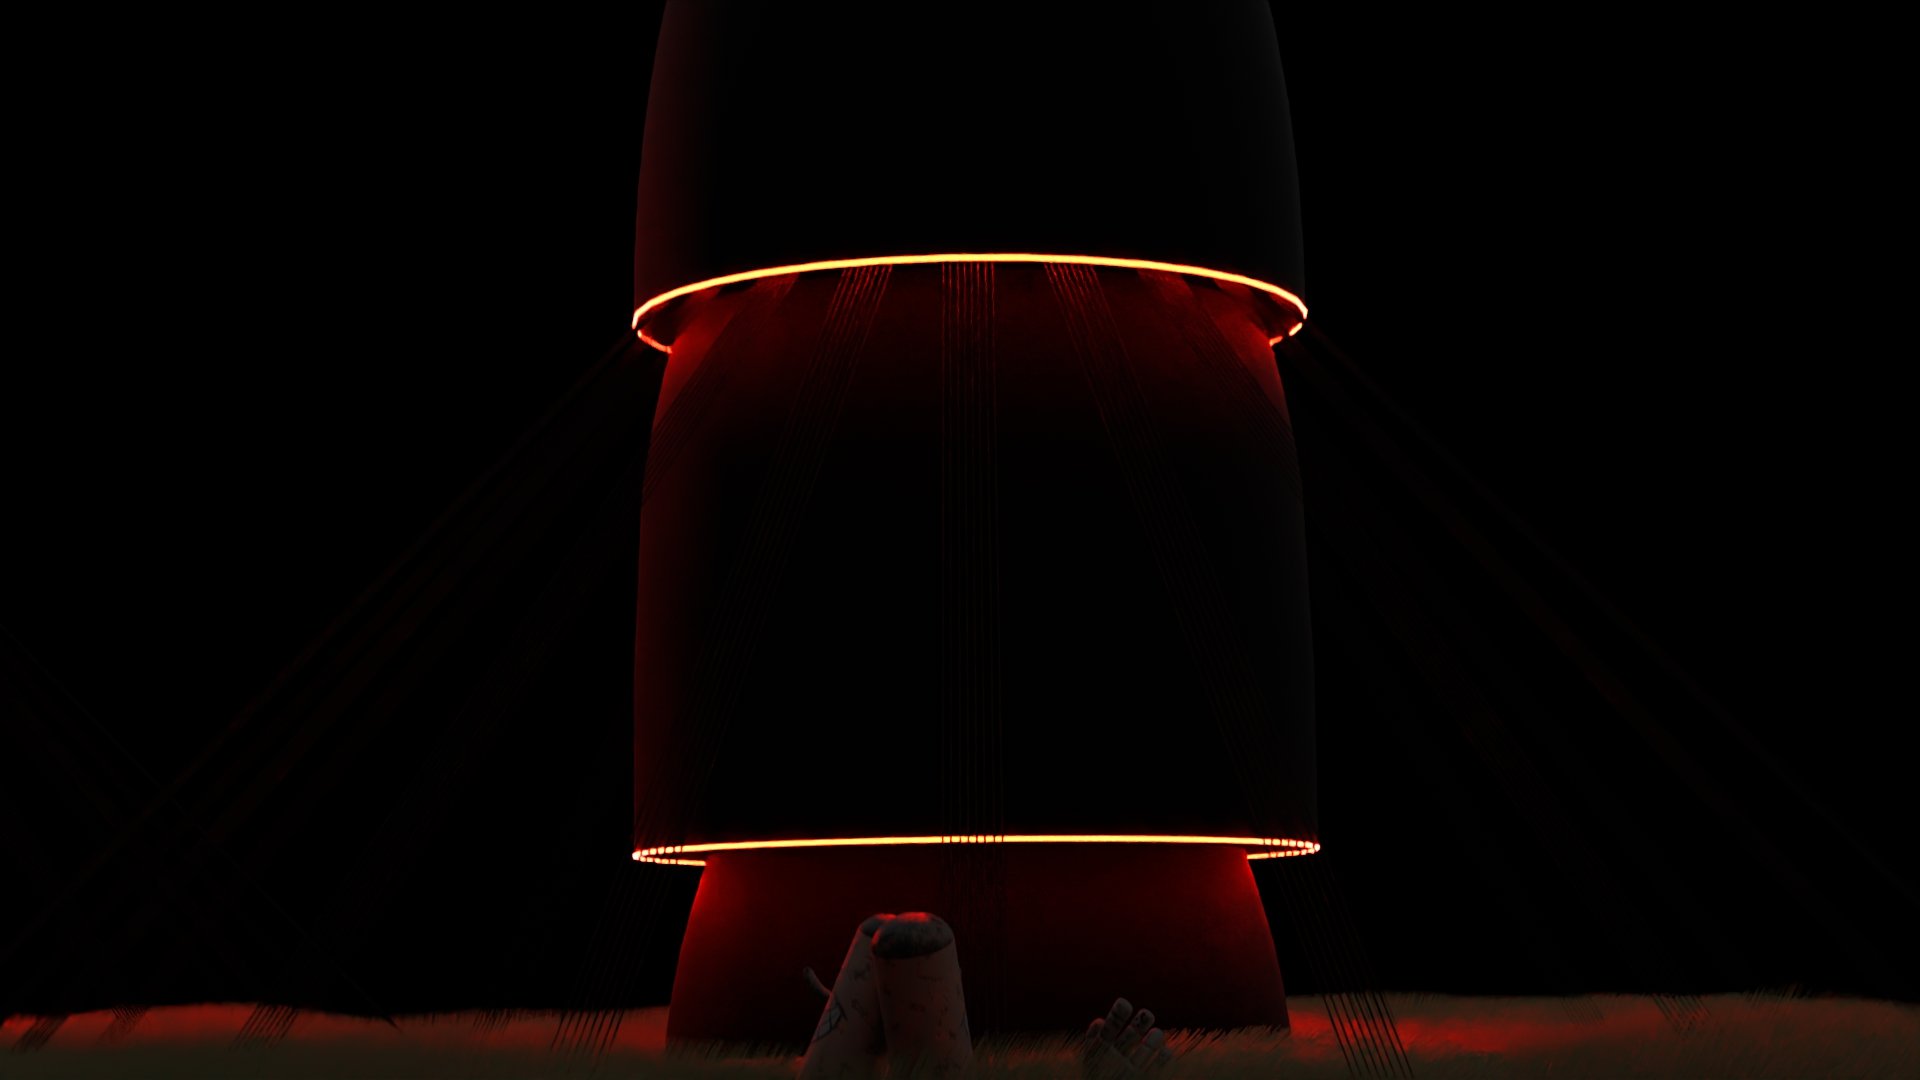
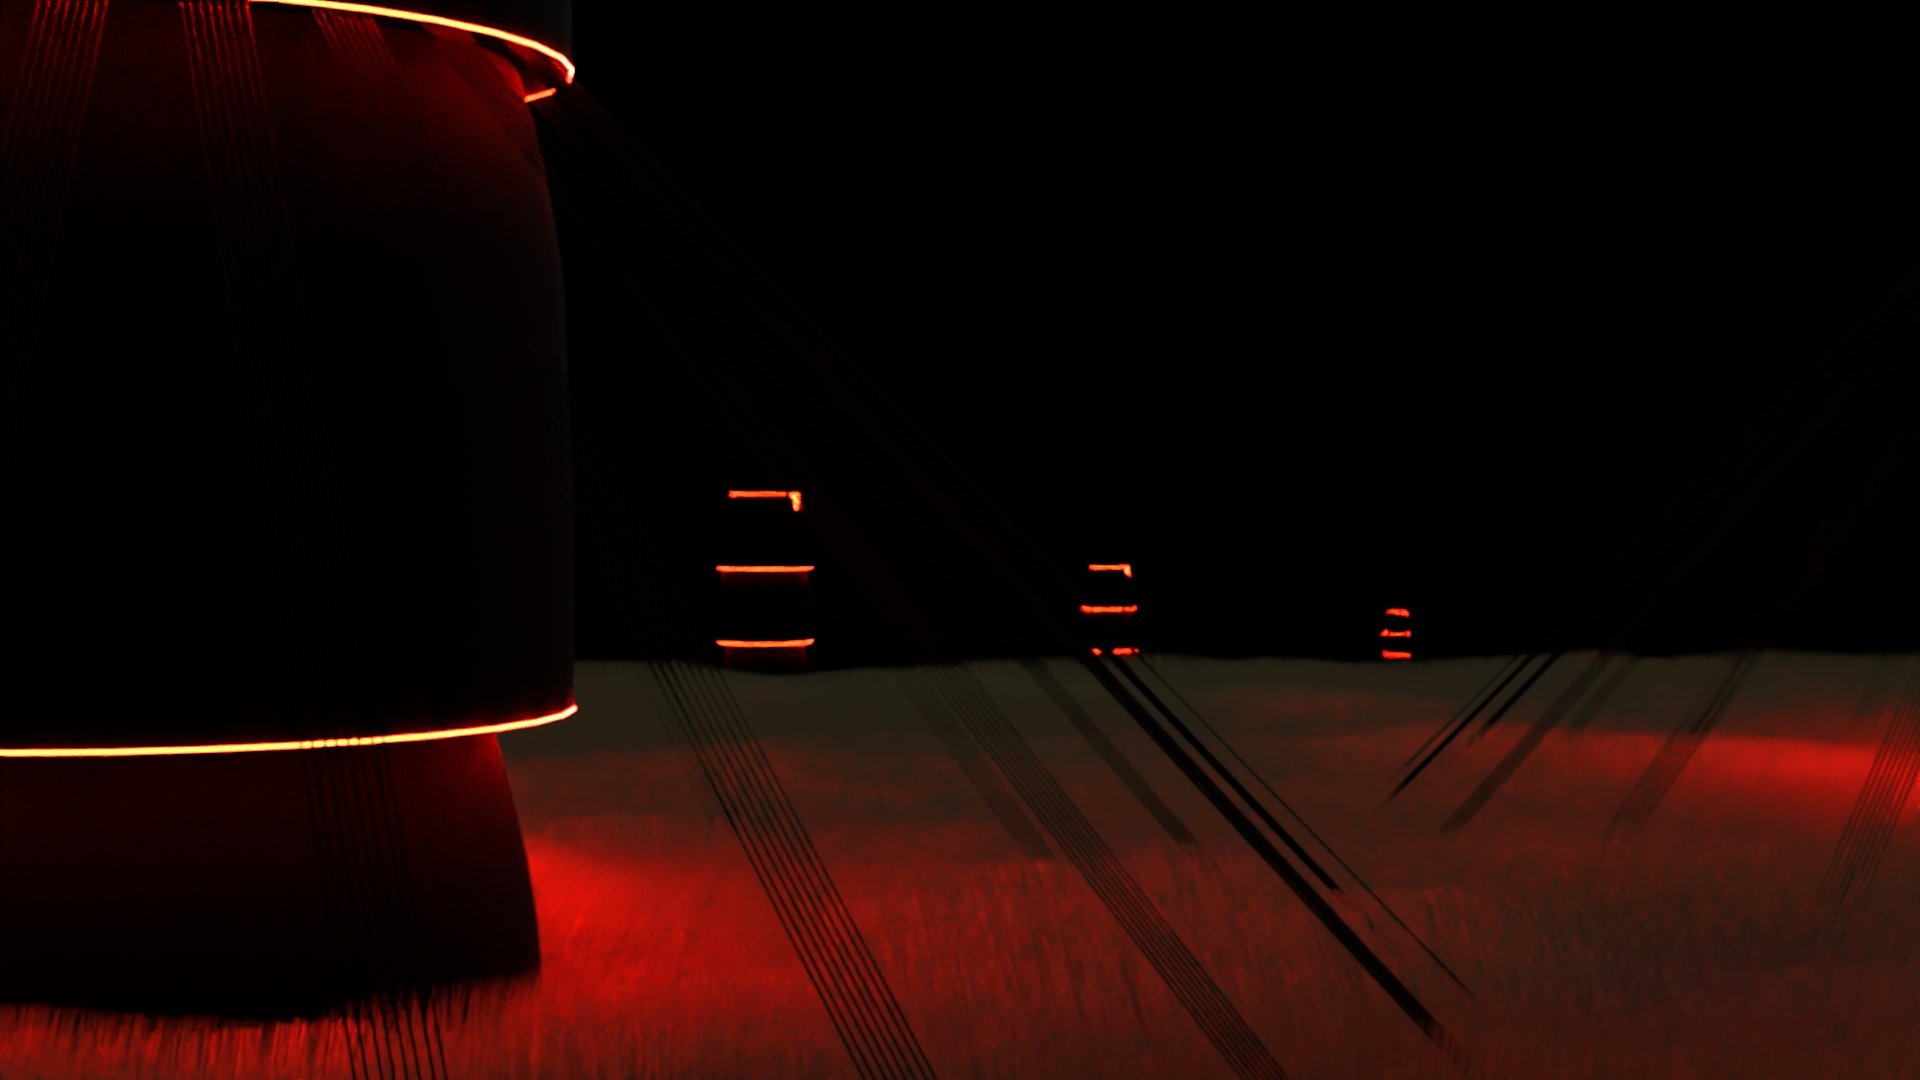
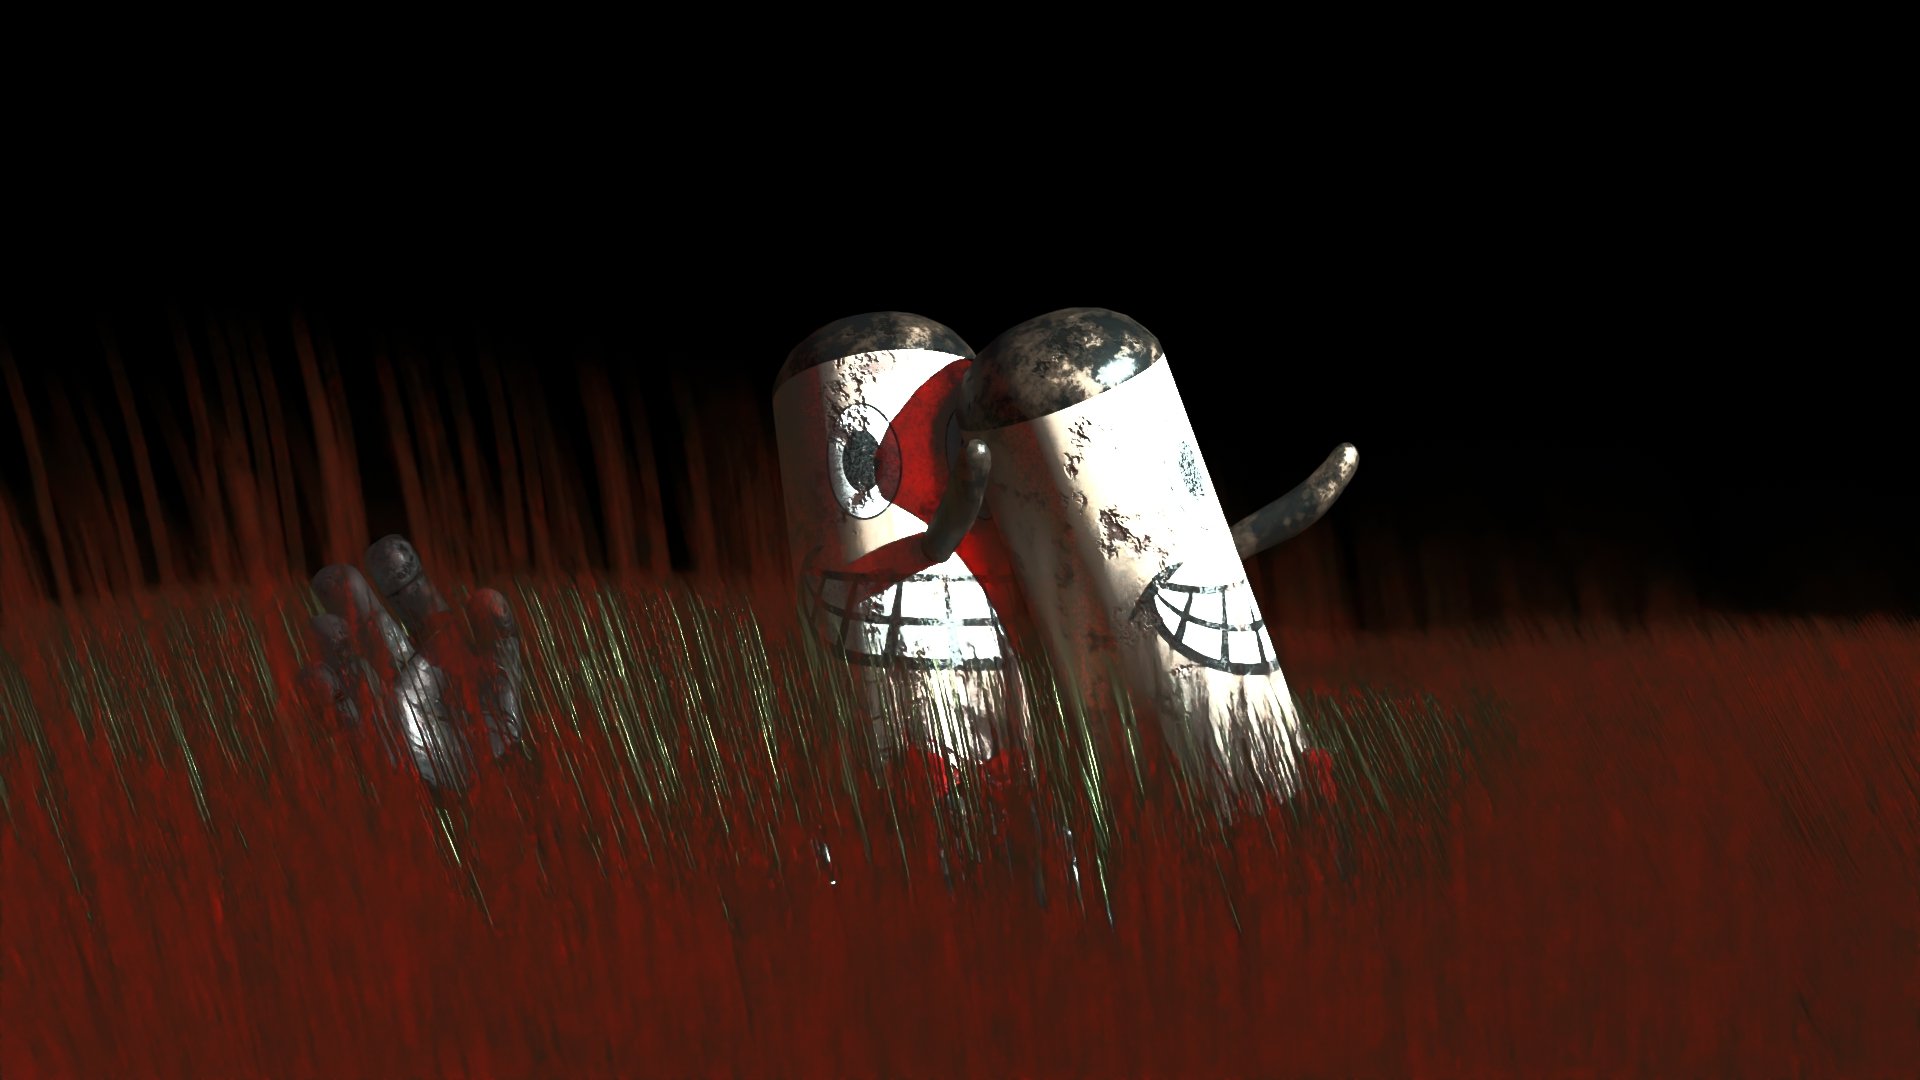
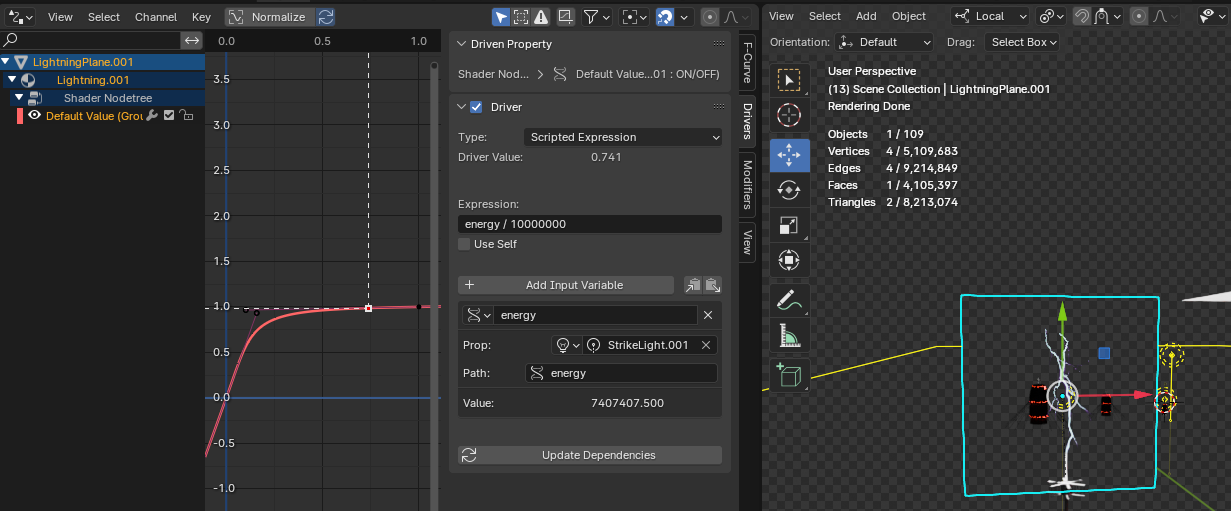

I initially tried to use the emission from the material to light up the world but it was inefficient to use emission from a material so I instead opted to use a pointlight and used the point light as a driver for the material
I am experienced in nuke but I am curious about blender’s compositor. It is pretty bare bones in comparison but its hard to beat the on-the-fly editing you can do to renders and even compositing the viewport. Although, its usefulness ran short ONLY because the compositor wouldnt pre-render an image sequence comp to allow for smooth replay when I needed changes and rendering just a composition out was impossible without an odd workaround which made it extremely slow.
Sheepit renderfarm was good for the most part. It saves days of rendering that’s for sure for something pretty much free. The tool takes a little bit of getting used to but has a learning curve for blocking projects that have really inefficient render settings that are not at all worth to render most of the time. It’s worth noting sheepit requires a lot of compressing but it didnt come out bad in my final render but because of the samples its hard to tell. I will have to make a higher quality pass in the final.
BLOG_08 2/4/2024
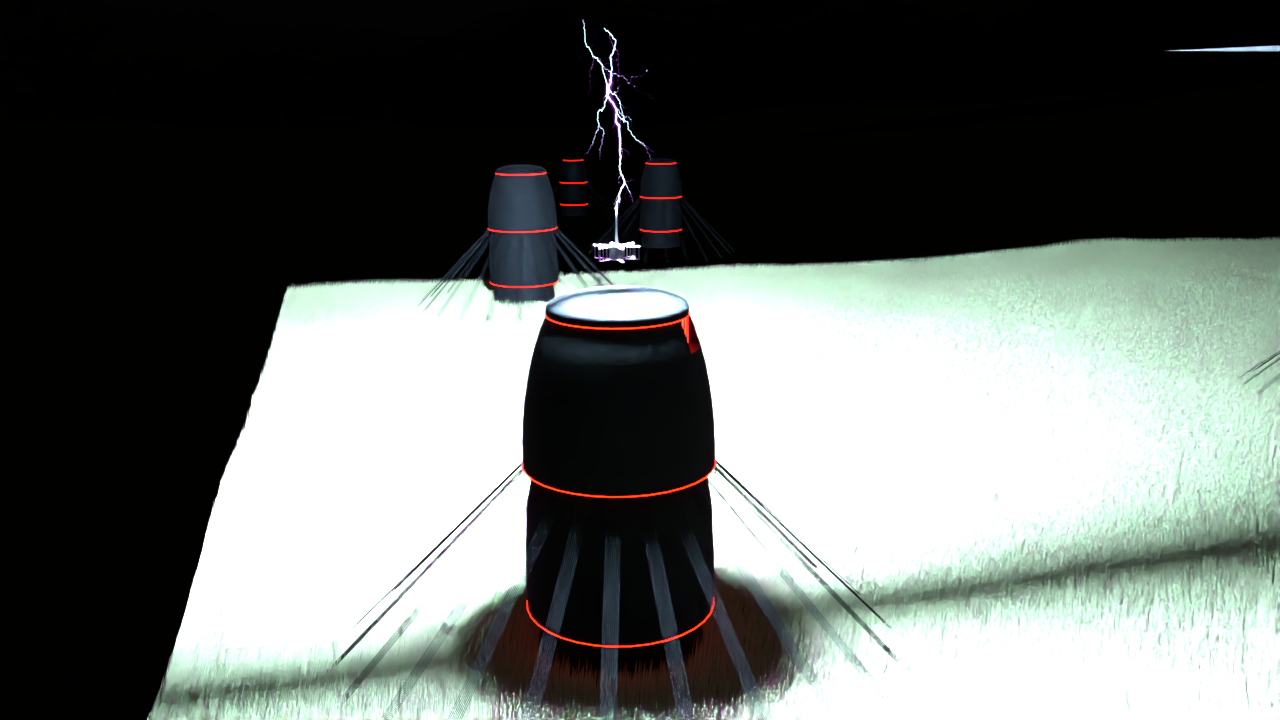
1st scene rendering
tower rescaling
grass render and material improvements
ground material improvements
lighting prep for compositing
BLOG_07 1/31/2024
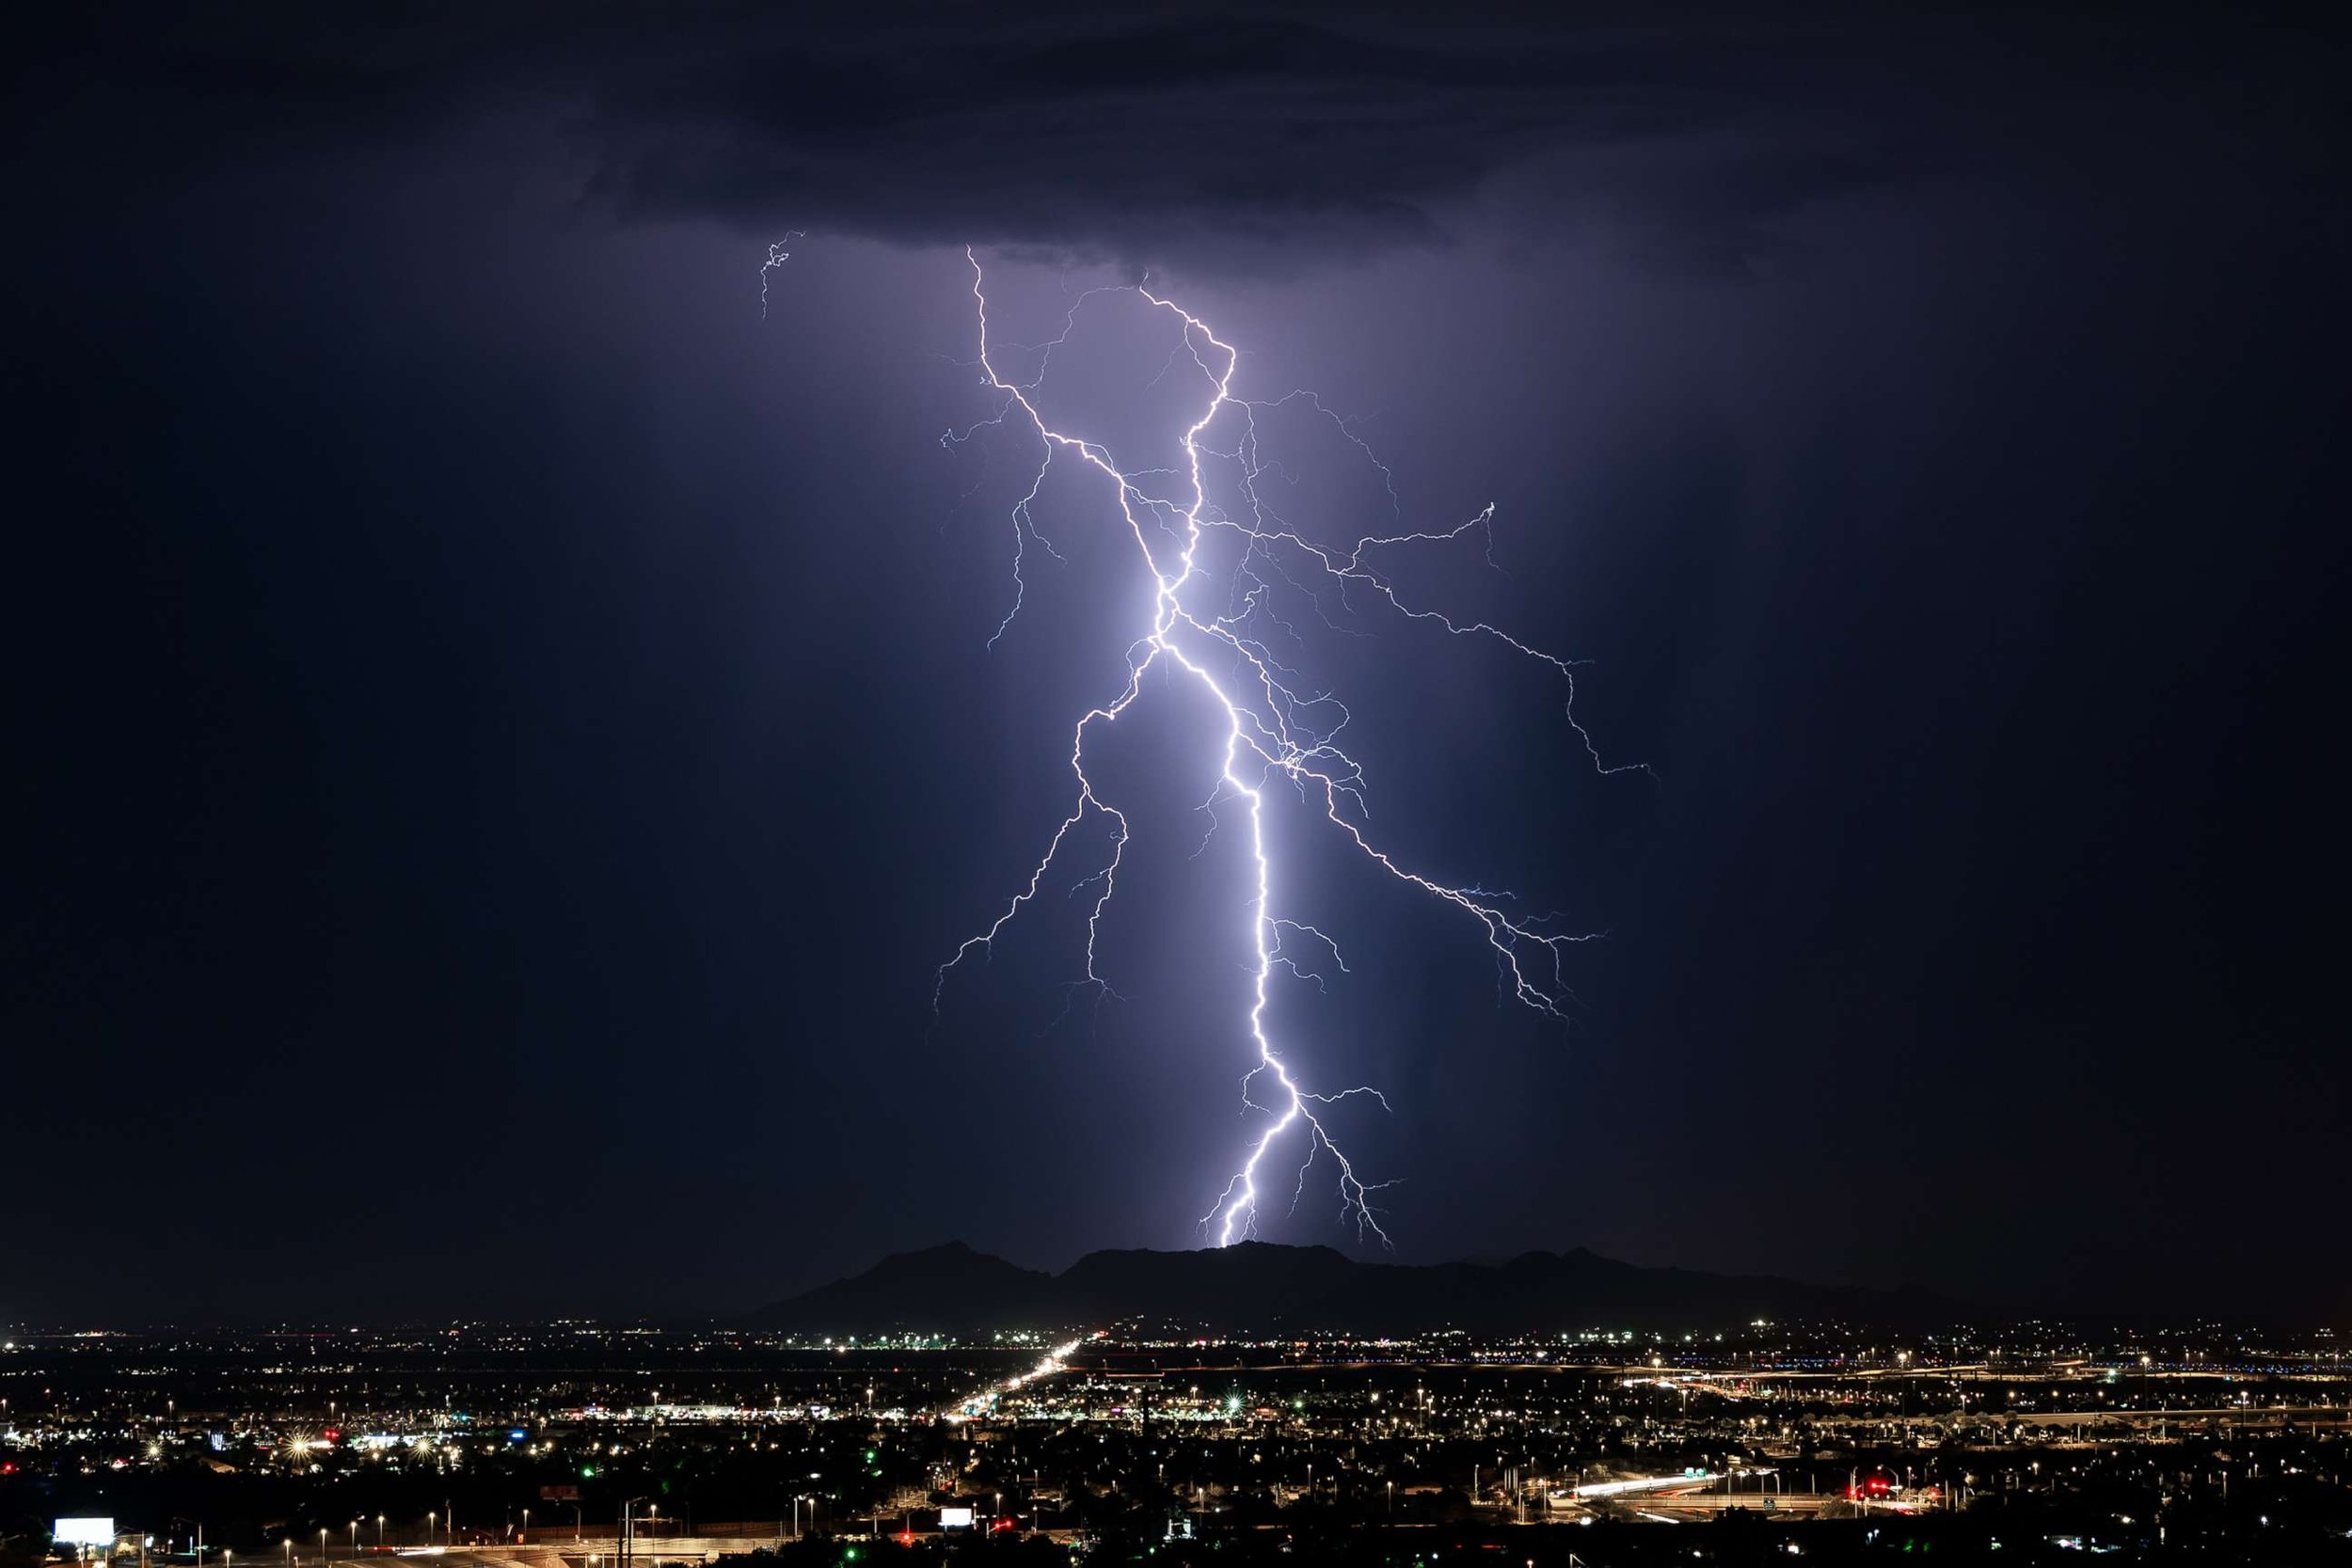
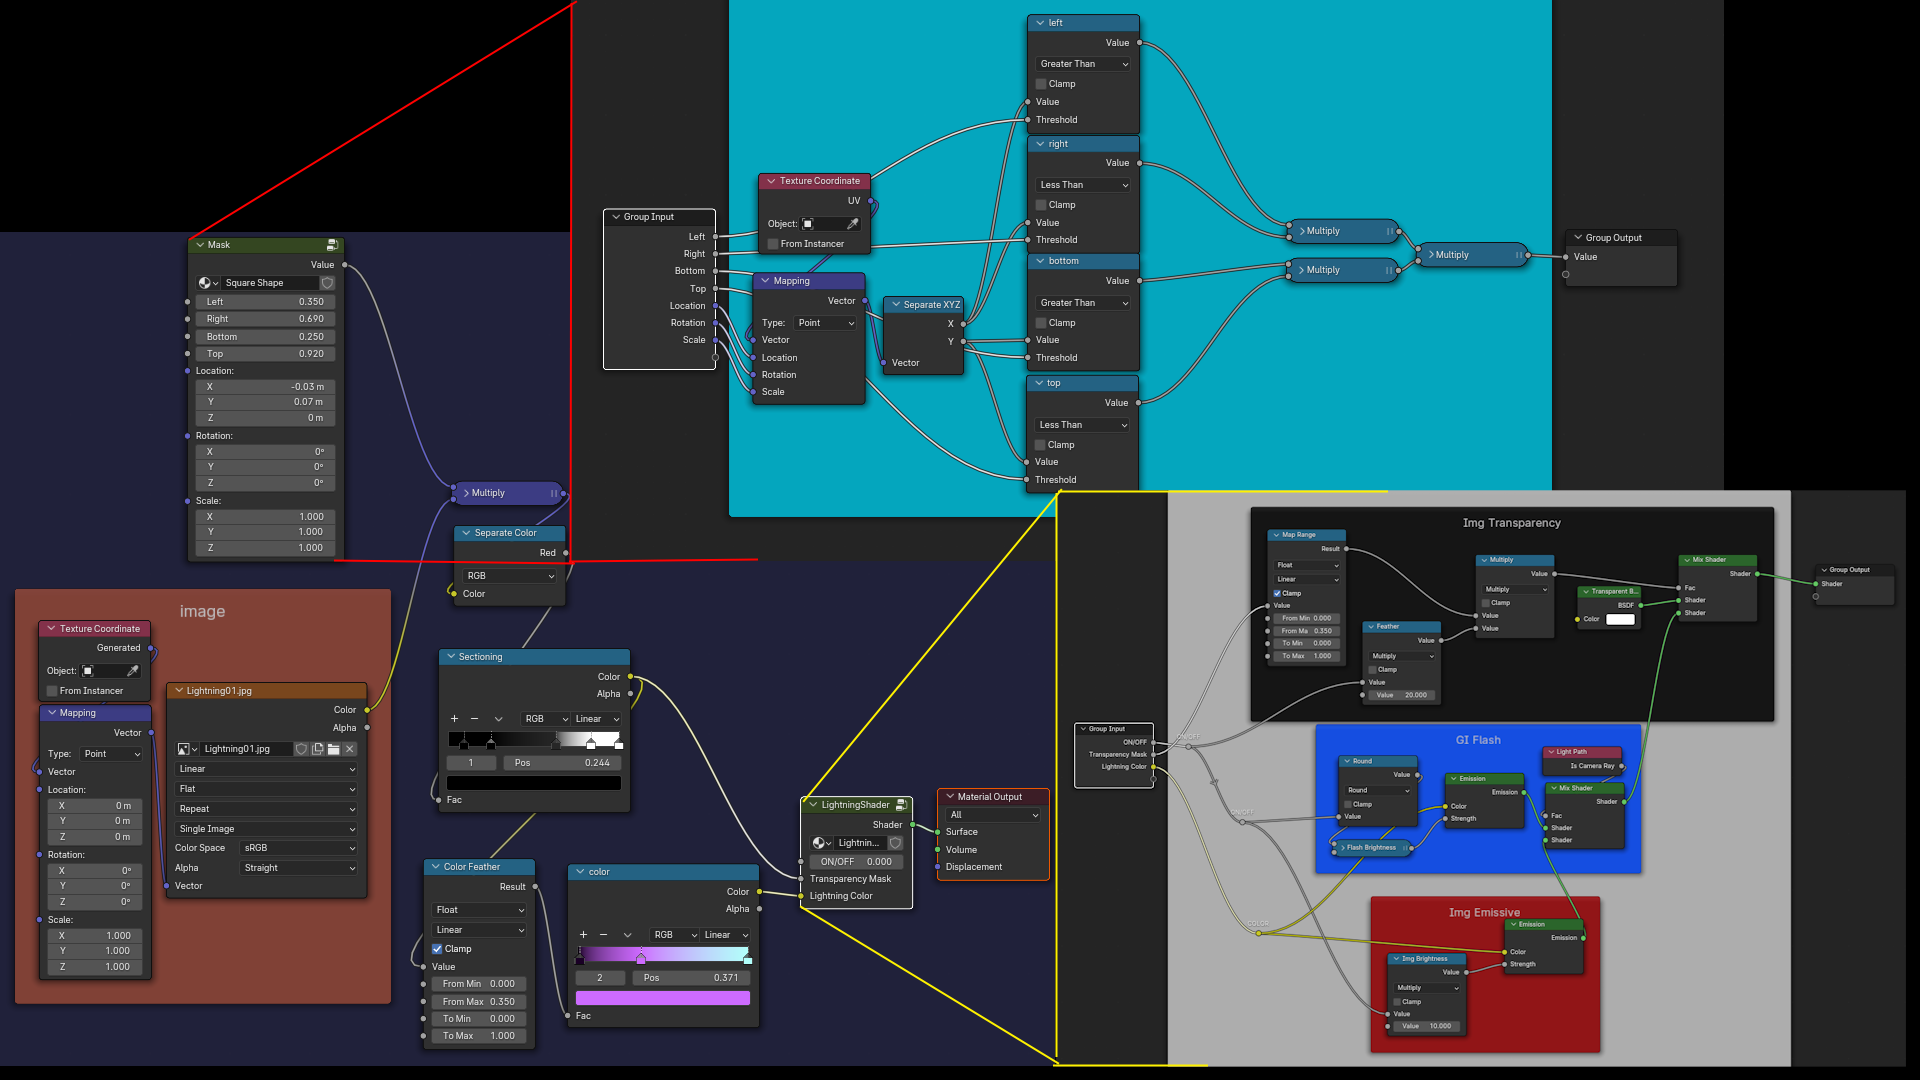
Lightning Material
Created a material for lightning strikes with SEVERAL features
Square mask to get rid of trash on the original image.
Darkens everything but the strike.
Separates Global Illumination brightness and image brightness to avoid blowout and be more accurate to how strikes fade after the initial flash
Color of the strike can be customized based on how bright they are
BLOG_06 1/24/2024
Scene 2 blocking
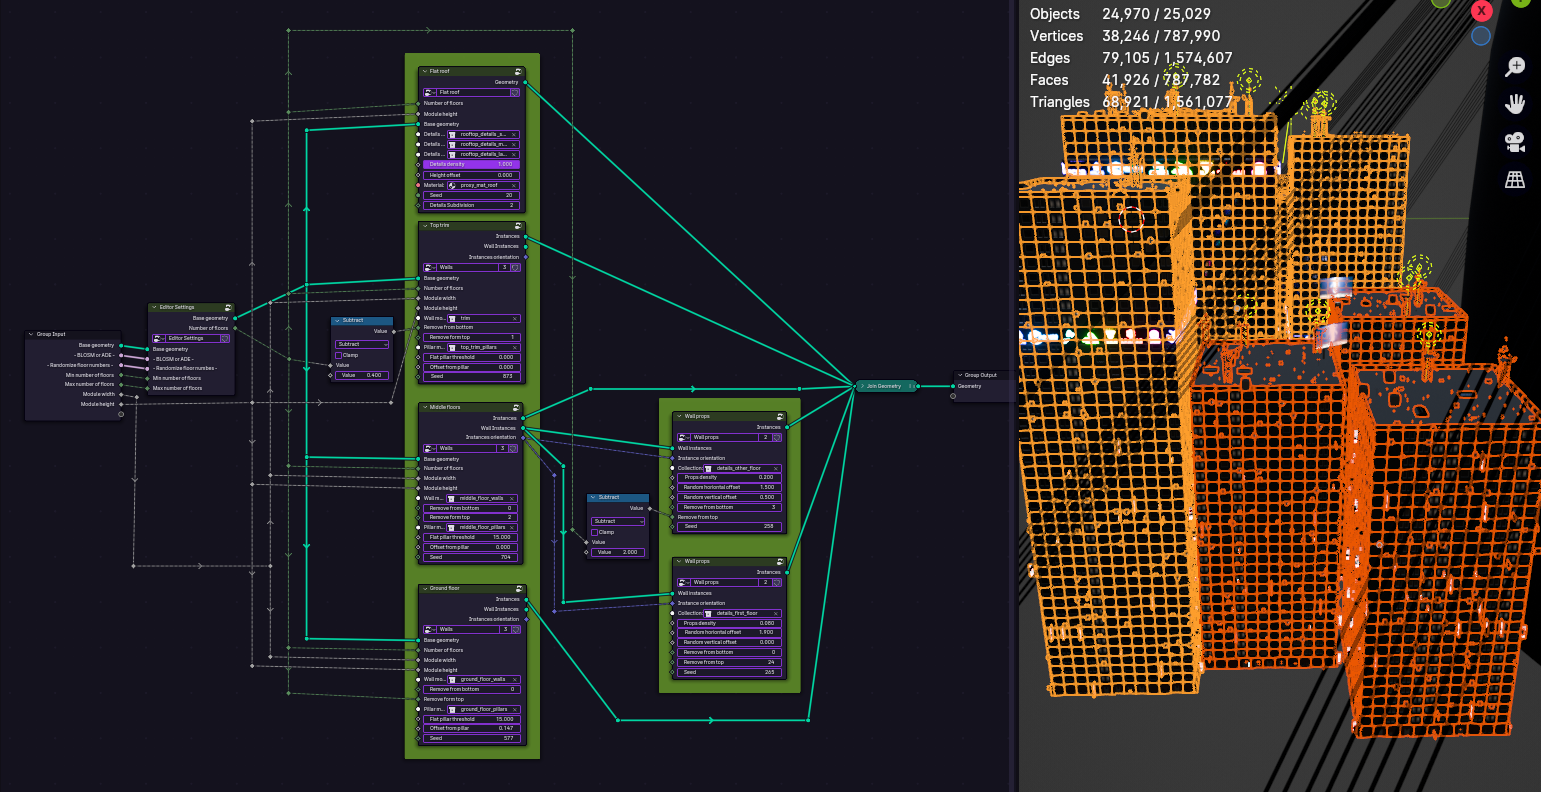
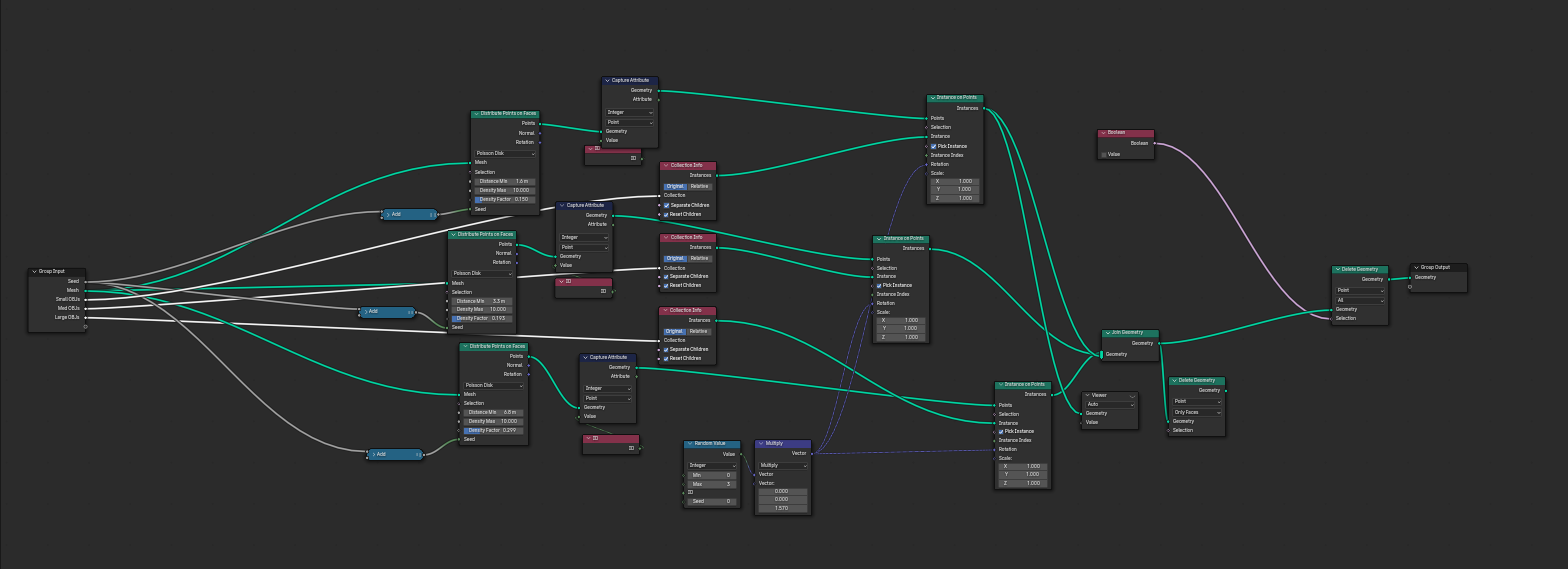
Buildify module modifications and node graph improvements
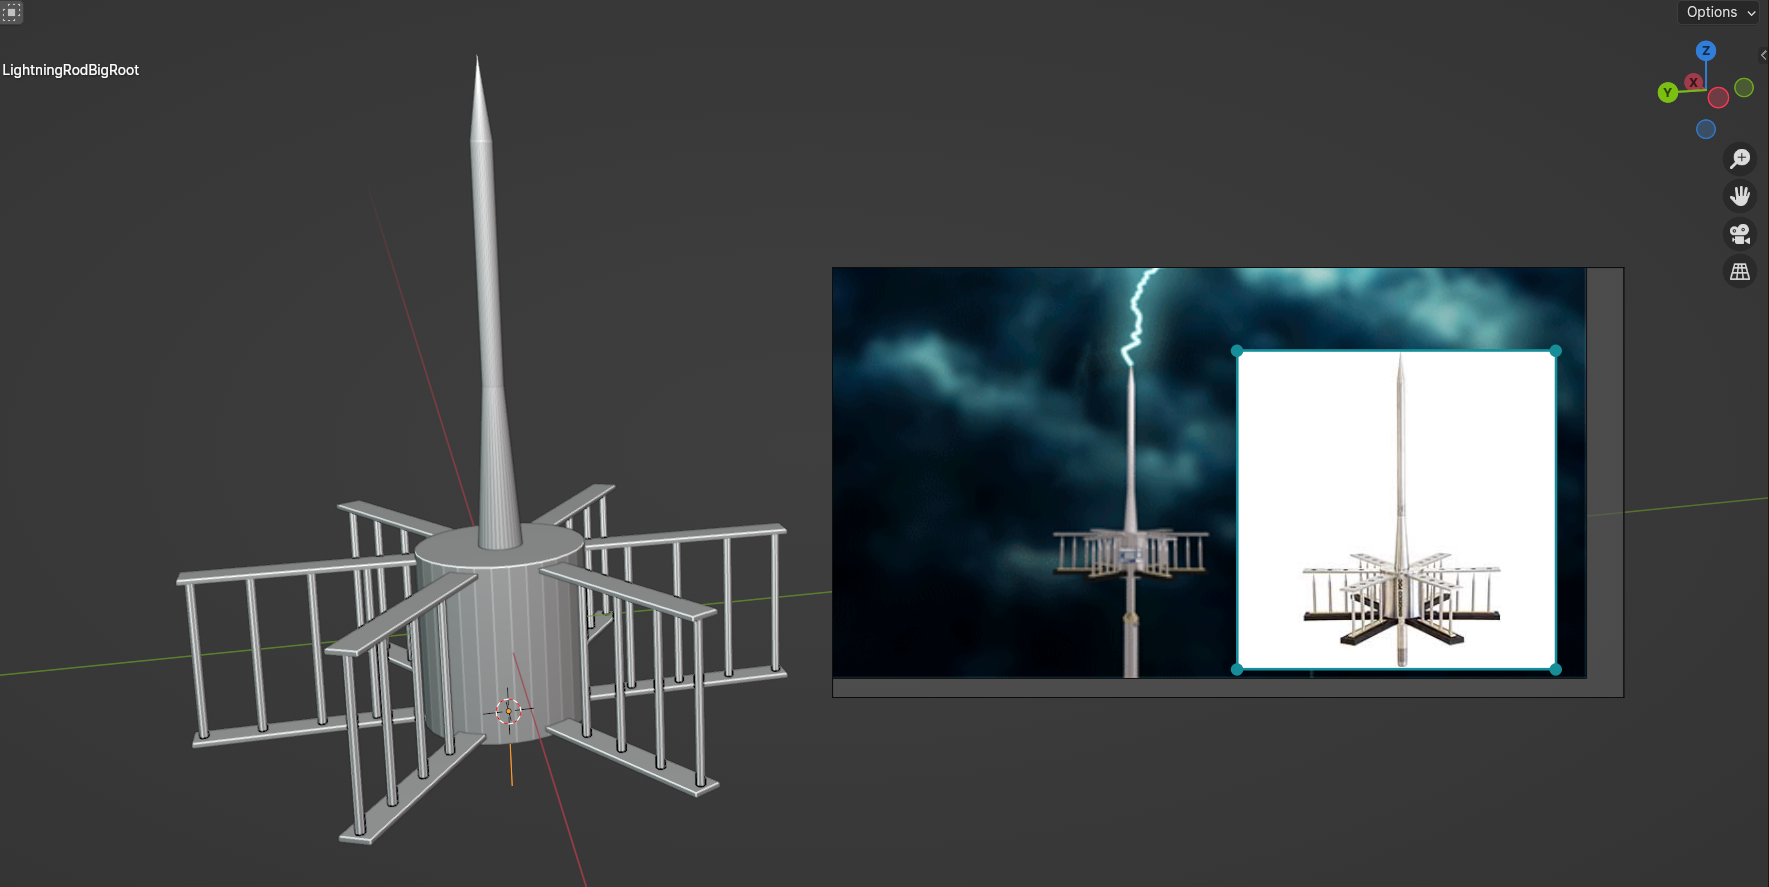
Lightning Rod Model
Lightning Rod 3d Model
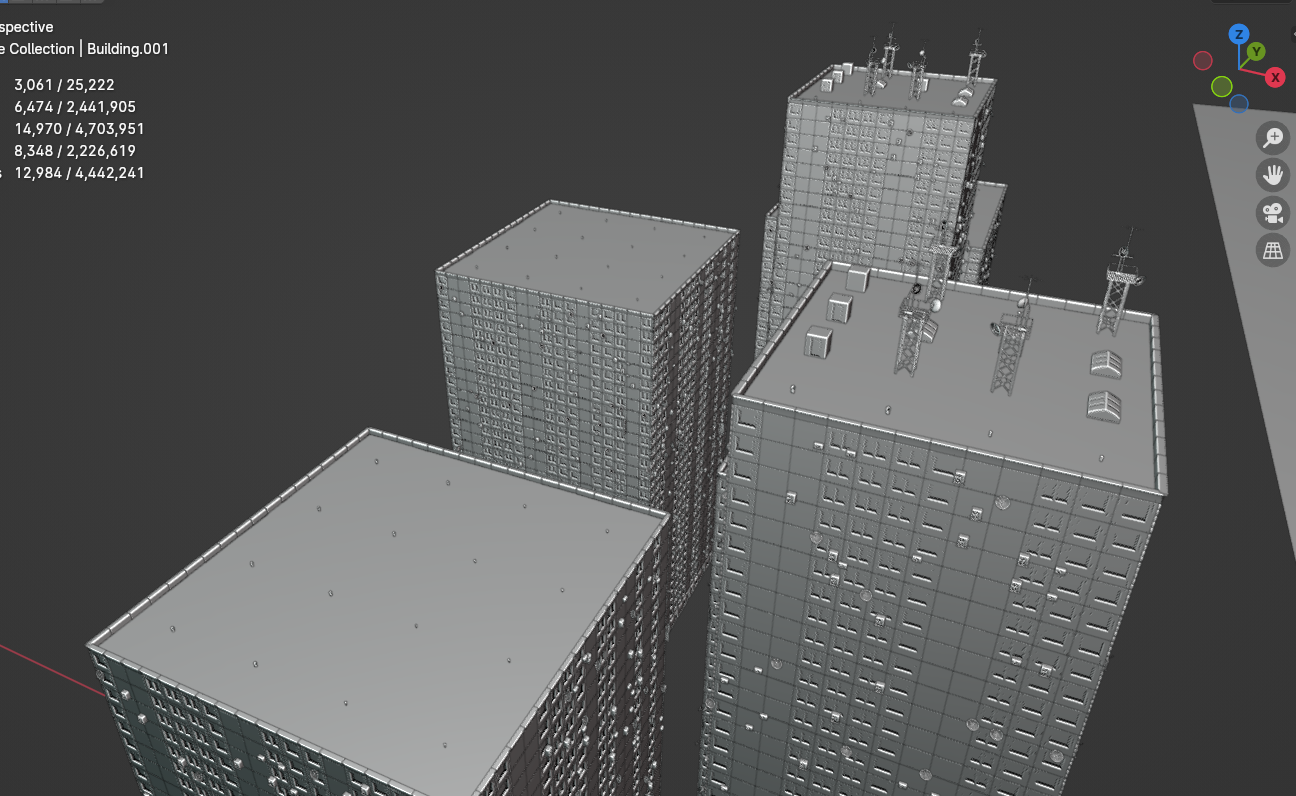
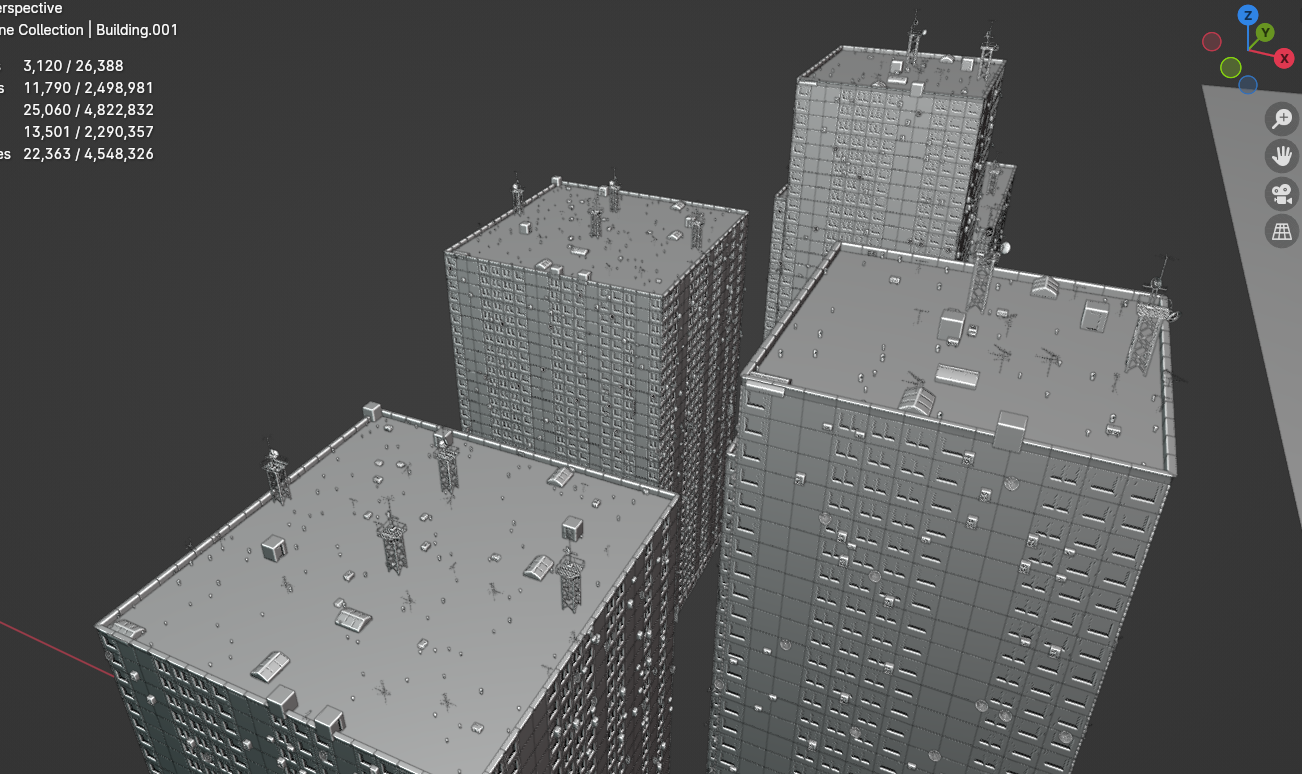
Scene 2 was quite Inefficient and was lagging badly due to geometry duplication. I am working on ways to instance different kinds of buildings to improve render times. I will look into possible selective light baking procedures.
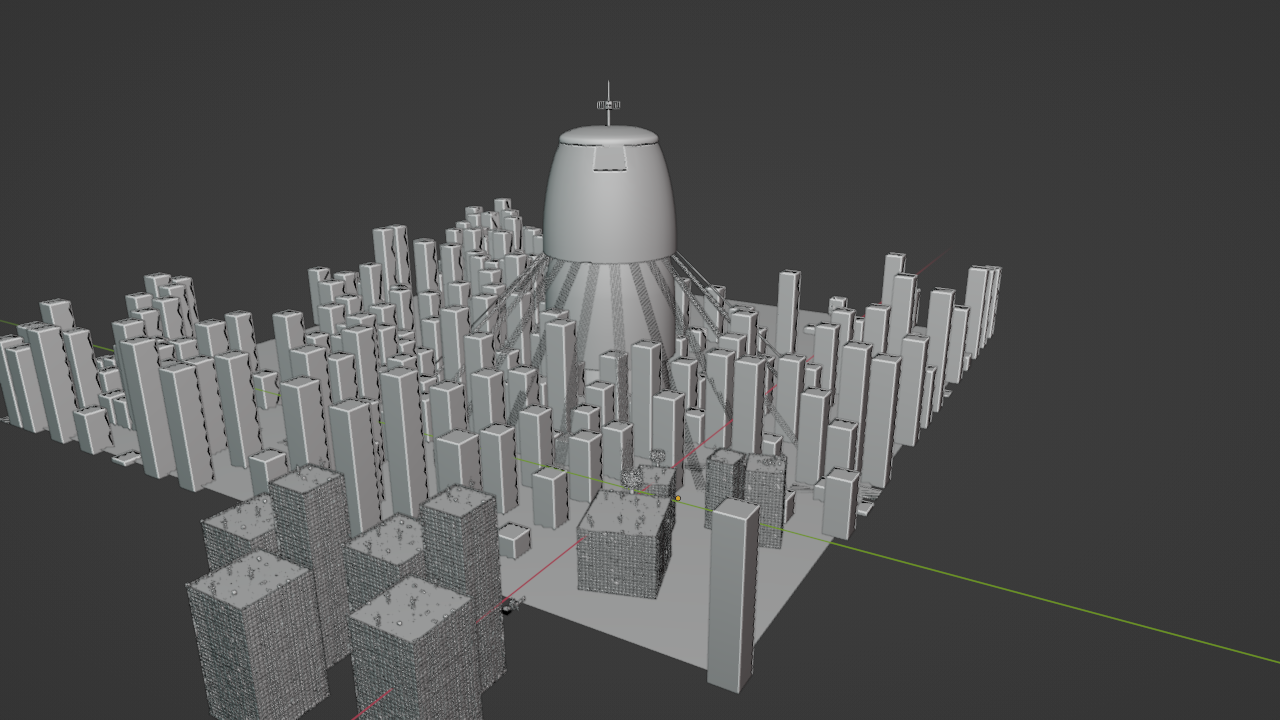
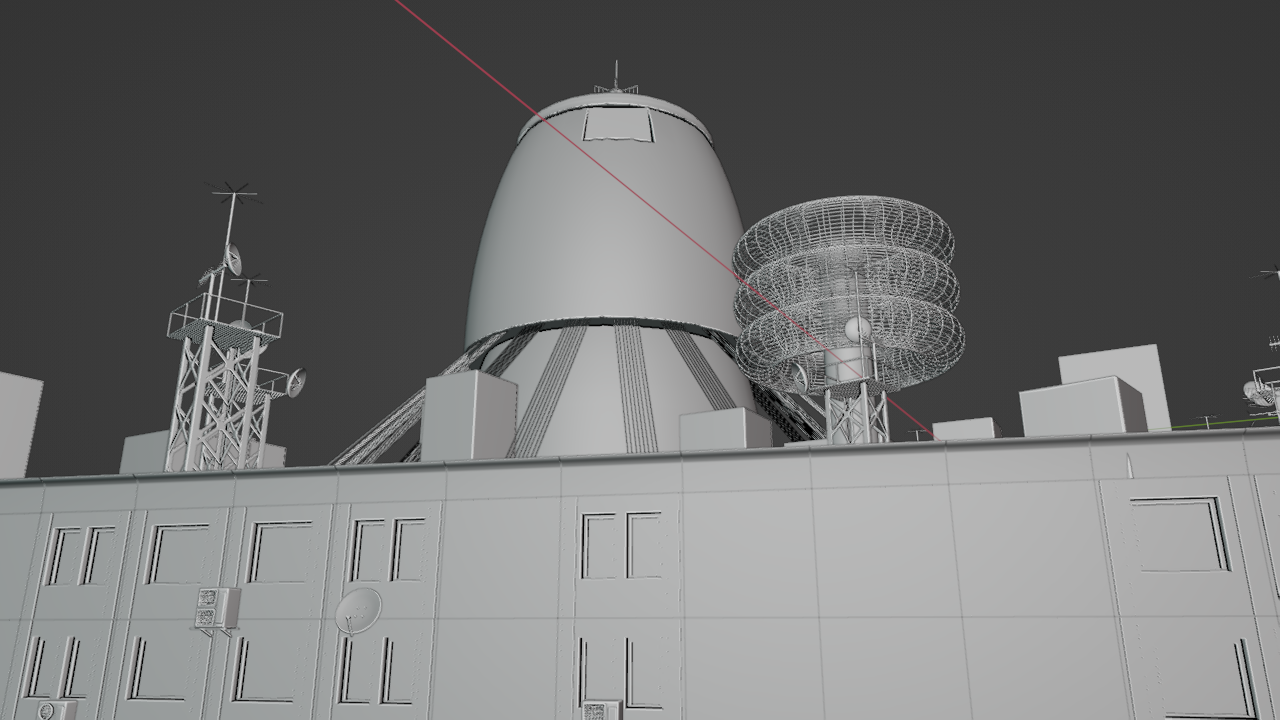
The cubes are placeholder until I can find more efficient ways of instancing
I used Pavel Oliva’s Buildify geometry node setup and modified some of the geometry that came with it for a more industrial look. Will be adding concrete materials later.
I was disappointed in the lacking of features I could change with it and strange way of gathering data blocks using geometry nodes.
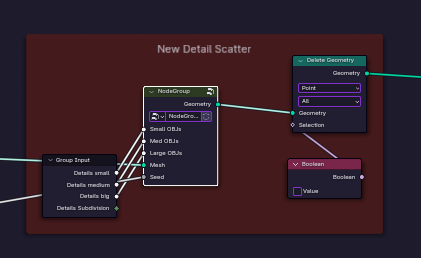
For the top floor, details are scattered around the roof in sections of small, medium, and large with appx 3-4 details to be used. These would be scattered along a subdivided plane onto its points to keep them in line and the “density” input was a percent probability something would be instanced to that point. Not only that, but i found many buildings would ONLY instance small or large details instead of varying sizes and there was no option to change it.
With my changes not only are the problems with variety solved but you can change in detail the density of the objects of each type, they rotate at random 90 degree turns, and they are not in straight lines. I plan on improving this later and adding a culling to the edges to prevent objects from floating off the sides.
I also realized that his method of recursive subdivision of the planes resulted in points on top of points aka: instances on top of each other so I fixed that as well.
BLOG_05 1/24/2024
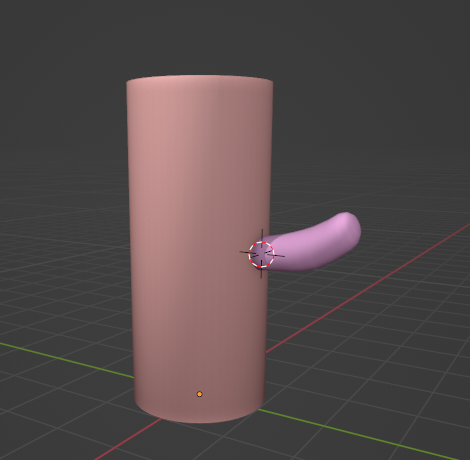
Mascott model finalization, grass instancing via hair with animation, Lighting, camera movement, layout almost finalized with possible improvements in future
Improvements to be made:
grass texturing and shape needs to be finalized
ground barely has a texture but its not visible so eh?
testing with AOVs and how they can help with the final lighting output by exaggerating emissives and diffuse lighting
more rubble?
better tower textures
better centerpiece tower to differentiate it from the others better
BLOG_04 1/24/2024
Scene 1 asset integration, rain particles, grass instancing beginnings, electricity node graph improvements
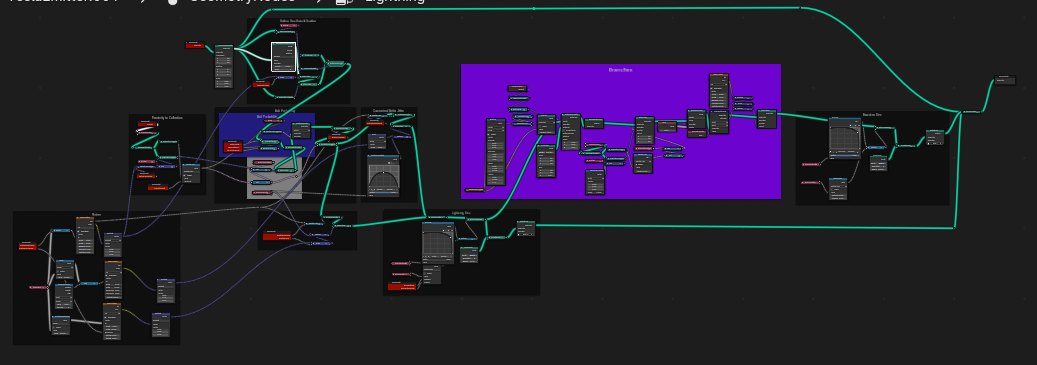
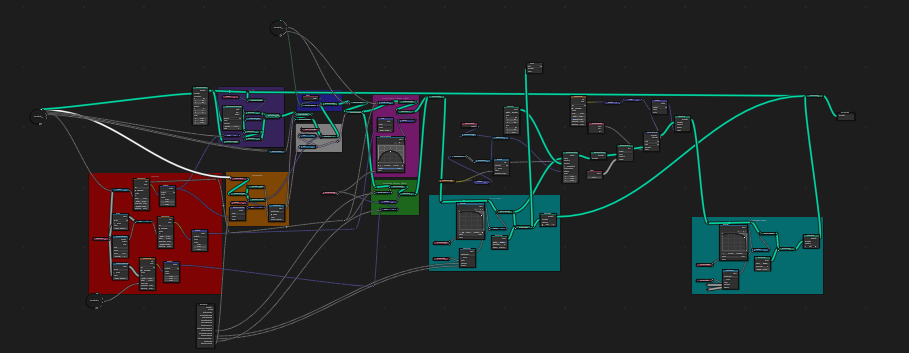
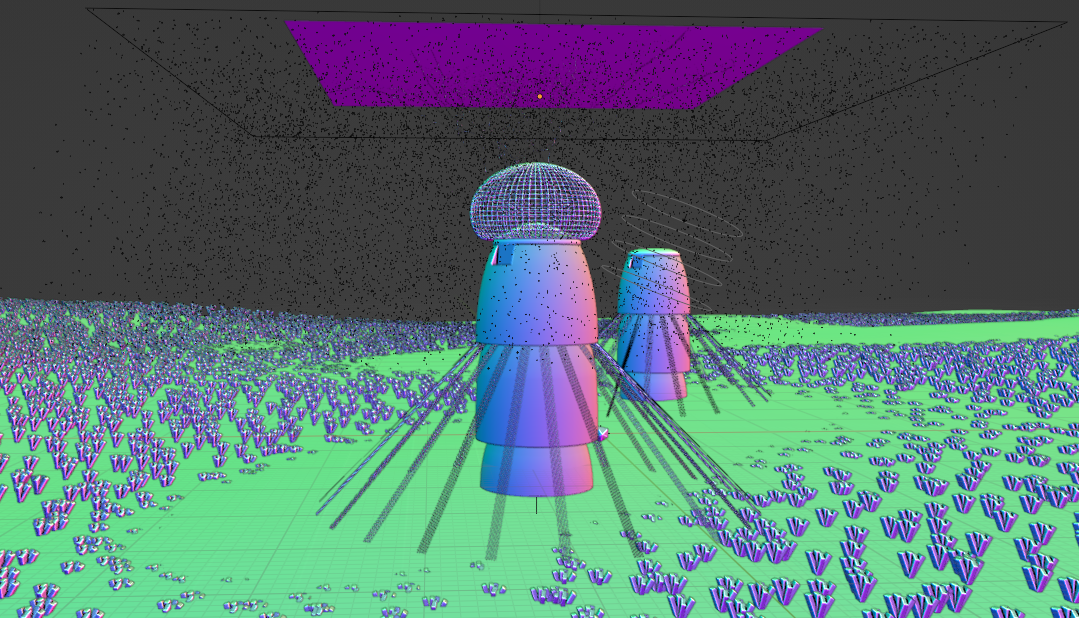
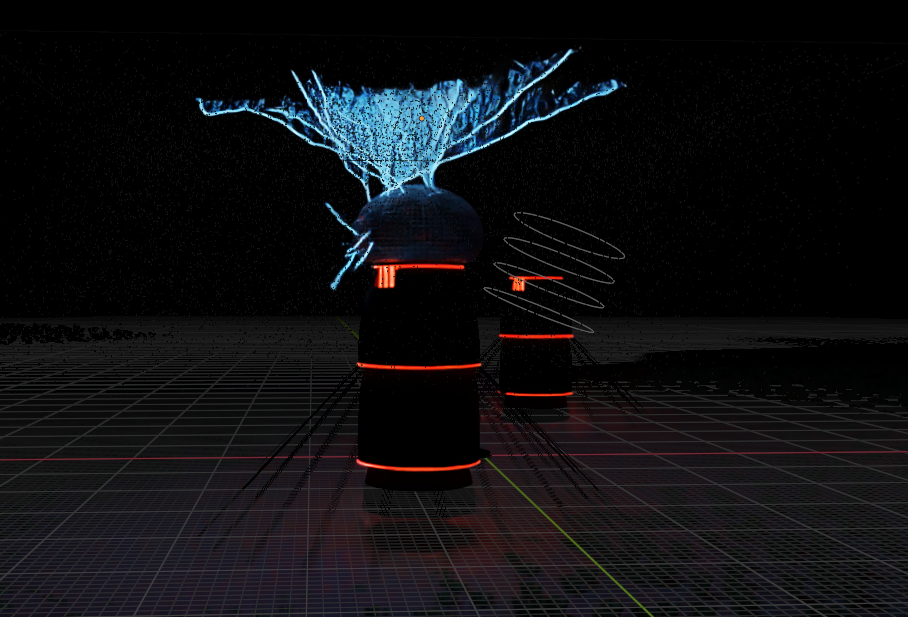
Improvements to readability in the electricity node graph to prepare for extra features
added rain particles which will be used in scene 1 and 2. Improvements needed to performance, and look.
electricity visual improvements needed to the extra branches (distance of branches) possibly make main branches thinner at the end and less of them
needed lightning strikes on the other towers from the clouds
BLOG_03 1/17/2024
Scene 1 and 2 camera move breakdown with a few assets created
Scene 1 and 2 breakdown. Scene 3 will not need a breakdown as it is already well under way. If there are any changes to camera it will be done in the moment.
Scene 1 Breakdown
Scene 2 breakdown
New Assets
BLOG_02 1/9/2024
These towers are what control the headsets in the original story. I decided I should make it the centerpiece at the beginning of scene 2.
I corrected the original render’s black levels so if need be it can be fixed in post but I shouldn’t in fear of noise.
BLOG_01 1/8/2024
Pitch and Background
Inspiration
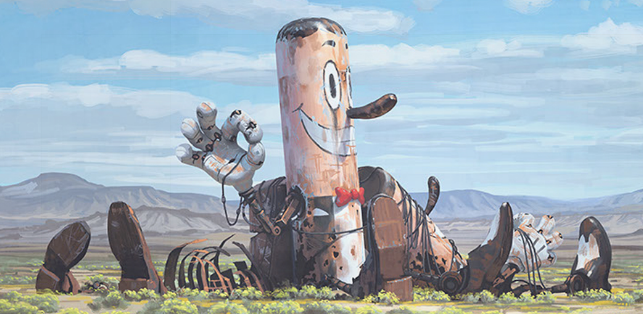
I was inspired by an art book named The Electric State written and painted by Simon Stalenhag. The book goes about the aftermath where neurotransmitting VR technology is created during the cold war which then escalated into a real war with machines piloted by soldier with neurotransmitters across the world resulting in majority civilian casualties. After the fires had died out the Companies behind the technology started serving for commercial use. Many people became addicted to the technology and one day all the people using the headsets in an instant had their consciousnesses uploaded to a hive mind. Their bodies still functioning but zombie like. The new hive mind called The Electric State, made no effort to communicate with humans and built strange technological monuments and creature like machines. Building something but nobody knows what. Some commenters describe the scenery as a “beautiful nightmare” of techno-eldritch horror.
My pitch
I have always loved ideas where the cold war sparked some technological revolution keeping the style of the 70’s but mixed in with a dystopian society. The photos from the book inspired me to start exploring and Simon’s use of color and strange machinery made me want to adapt it to 3d. I want to set the piece at the time where all the humans were taken into the machine with backstory of the book mixed in. This will help me avoid restating or taking too much from his work and only build on the idea of a prequel.
Software & logistics
Blender
Ease of access
Handles complex scenes well
Ease of rendering
Substance softwares
Will limit use of to specifics, the scenes will be dark and focus a lot on lighting. I shouldn’t need to have hyper detail but will use when necessary
Composite or light for better black values
Add 1 or 2 scenes for added context
More SFX and replace placeholder audio for something toned down
Render Scene 1/improve clouds
Look at color coordination and improve materials as necessary
Add onto the tesla effect for better looking branches
Possibly think about ordering scenes can be cut when the work seems too much
What does this show of me
Procedural tesla coils and cables are the main parts as well as simulating an LCD screen on the 3rd scene.
I also want to show my knowledge on lighting for storytelling and atmosphere as well as camerawork.
Expected Challenges
I know blender well enough to get through mostly any hurdle that is thrown which is a detriment to overestimating my own abilities. I will have to think of myself as a baby as to not go overboard too quickly. I want this to be a highlight of my time here at SCAD so I will be pushing myself as much as possible.


